Whole Grain Bread Recipe
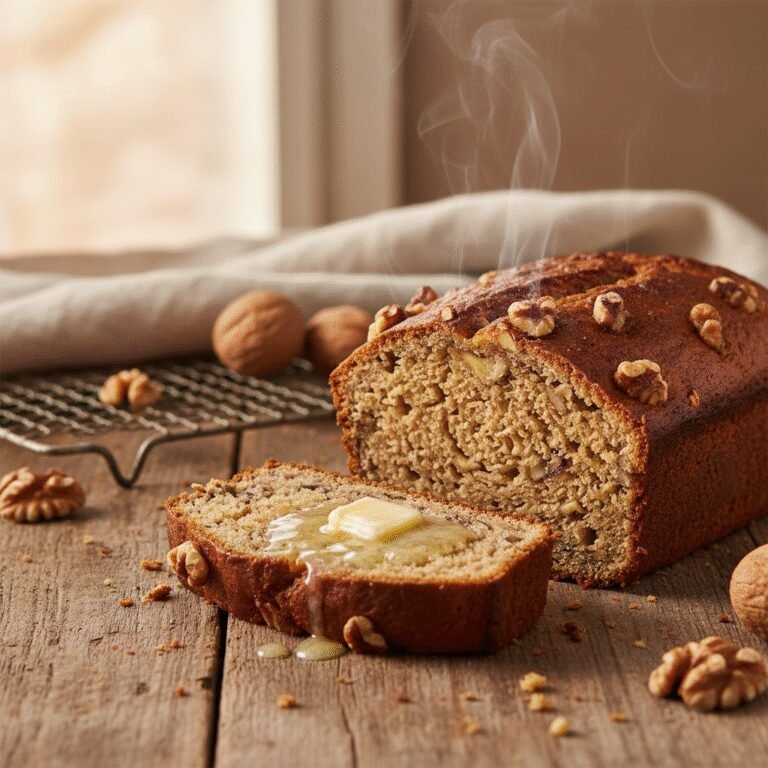
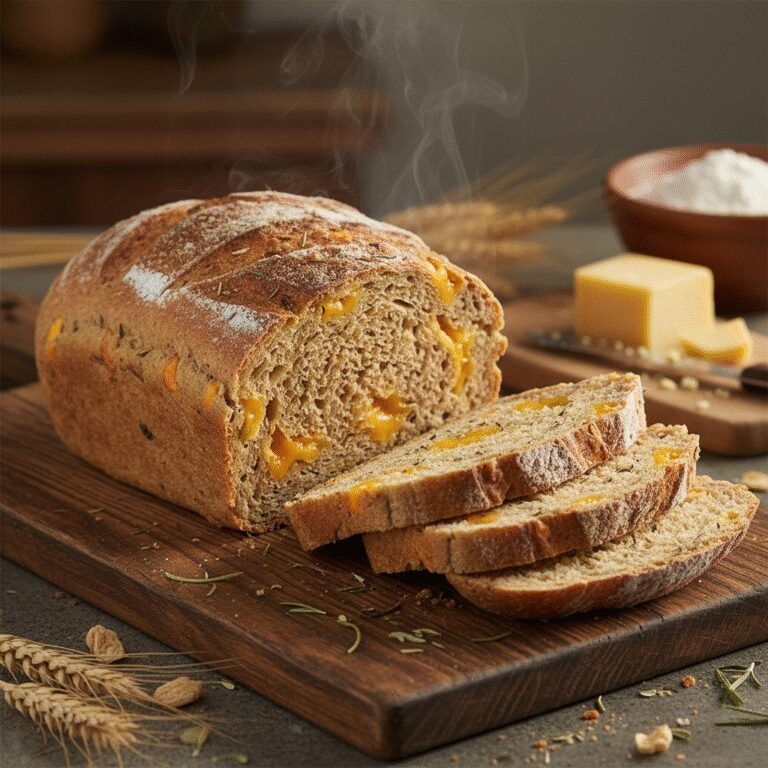
There is nothing quite like the smell of fresh bread wafting through the house to make it feel like a home. This whole grain loaf is shockingly soft, perfectly nutty, and surprisingly easy to master, even if you are a baking beginner.
25 minutes
35 minutes
2 hours 45 minutes
2 Loaves
Bread
Baking
American
Vegetarian
Let’s be real for a second: is there anything more comforting than a slice of warm, homemade bread slathered in butter? I don’t think so! For the longest time, I was intimidated by the idea of baking with 100% whole grains. I had this preconceived notion that healthy bread had to be dense, heavy, and frankly, a little bit like eating cardboard. But oh, how wrong I was!
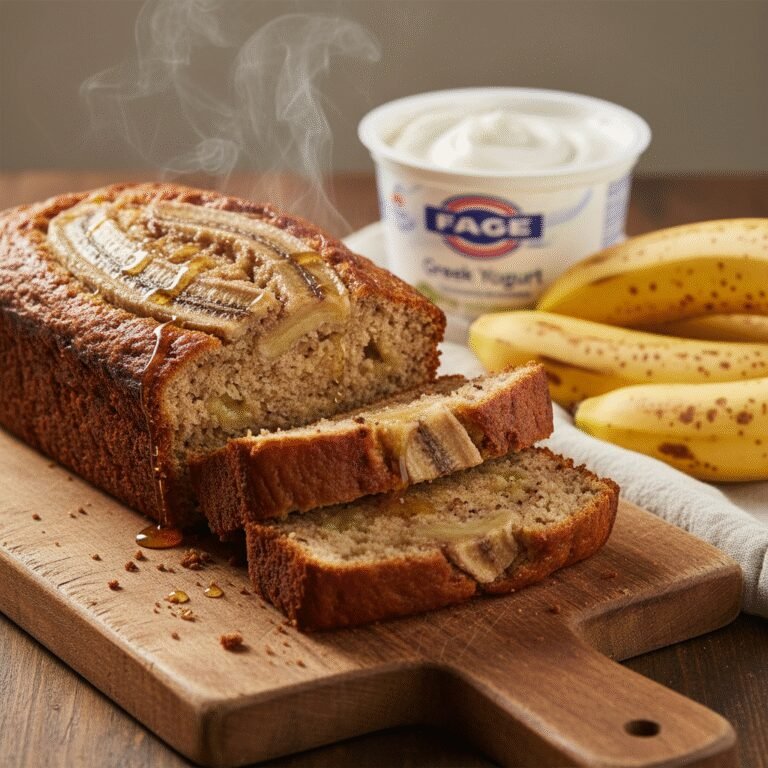
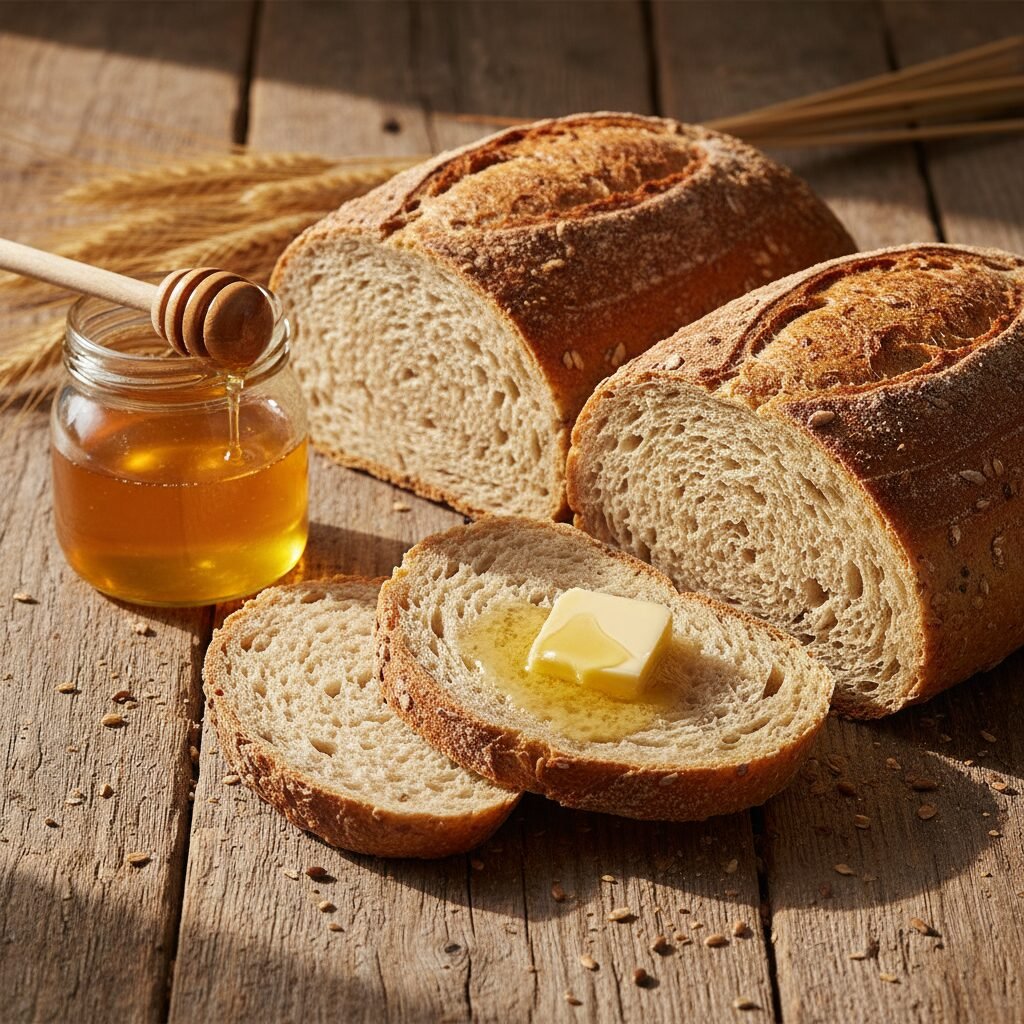
This recipe is my love letter to all the moms out there trying to sneak more nutrition into their kiddos’ lunchboxes without sacrificing taste. We are talking about a loaf that is tender enough for a classic PB&J but hearty enough to hold up to a grilled cheese. Using whole wheat flour preserves the bran and germ, giving you all that fiber and nutty goodness, but the addition of a little honey and oil keeps the crumb incredibly moist.
Whether you are a seasoned pro with a stand mixer or looking for a therapeutic arm workout by kneading by hand, this recipe is forgiving and rewarding. Get ready to impress your family (and yourself) with a bakery-quality loaf that comes straight from your own oven.
History & Origins
Bread has been a staple of human existence for thousands of years, with early civilizations grinding grains between stones to make coarse flatbreads. However, the shift towards refined white flour in the late 19th and early 20th centuries changed everything. While white flour was shelf-stable and produced lighter loaves, it stripped away the most nutritious parts of the wheat berry: the bran and the germ.
In recent decades, there has been a massive resurgence in the popularity of whole grain baking as we’ve rediscovered the health benefits of fiber and complex carbohydrates. This recipe harkens back to traditional bread-making roots but utilizes modern yeast and techniques to ensure the loaf isn’t a heavy brick, bridging the gap between old-world nutrition and modern textural preferences.
Why This Recipe Works
Whole wheat flour is thirsty! It absorbs more liquid than all-purpose flour because of the bran content. The secret to this recipe’s success lies in the hydration ratio and the inclusion of fat (oil or butter) and sugar (honey). The honey is hygroscopic, meaning it holds onto moisture, preventing the bread from drying out too quickly.
Furthermore, the fat coats the gluten strands, inhibiting them slightly to create a tender crumb rather than a chewy, tough one. We also recommend kneading the dough thoroughly. The sharp edges of the bran in whole wheat flour can cut gluten strands, so a good knead helps align them properly, ensuring the bread rises high and stays fluffy.
Why You’ll Love This Recipe
- ✓100% Whole Grain goodness without the heaviness
- ✓Naturally sweetened with honey
- ✓Perfect for sandwiches, toast, and snacking
- ✓Freezer-friendly for meal prepping moms
- ✓No preservatives or unpronounceable ingredients
- ✓Kid-approved soft texture
Equipment You’ll Need
- ✓Two 9×5 inch loaf pans
- ✓Stand mixer with dough hook (optional but helpful)
- ✓Large mixing bowl
- ✓Kitchen towel or plastic wrap
- ✓Measuring cups and spoons
- ✓Instant-read thermometer
- ✓Wire cooling rack
Ingredients
- ✓2 1/2 cups warm water (105°F to 115°F)
- ✓1 tablespoon active dry yeast
- ✓1/2 cup honey (or maple syrup)
- ✓1/4 cup olive oil or melted butter
- ✓6 to 7 cups whole wheat flour (standard or white whole wheat)
- ✓1 tablespoon salt
- ✓1 tablespoon vital wheat gluten (optional, helps with rise)
- ✓1 tablespoon lemon juice (acts as a dough conditioner)
Instructions
- Activate the Yeast: In the bowl of your stand mixer or a large bowl, combine the warm water, yeast, and 1 teaspoon of the honey. Let it sit for 5-10 minutes until it becomes foamy and bubbly. This tells you your yeast is alive and ready to party!
- Mix Wet Ingredients: Add the remaining honey, olive oil, lemon juice, and salt to the yeast mixture. Stir gently to combine.
- Add Flour Gradually: With the mixer on low speed (or using a sturdy wooden spoon), add the flour one cup at a time. If you are using vital wheat gluten, mix it into the first cup of flour. Continue adding flour until the dough starts to pull away from the sides of the bowl. It should be tacky but not overly sticky.
- Knead the Dough: If using a mixer, knead on low-medium speed for 7-10 minutes. If kneading by hand, turn the dough onto a lightly floured surface and knead for 10-12 minutes. You want the dough to be smooth and elastic. Tip: Perform the windowpane test to check if the gluten is developed.
- First Rise: Lightly grease a large bowl with oil. Place the dough inside, turning it once to coat the top with oil. Cover with a damp kitchen towel or plastic wrap. Place in a warm, draft-free spot and let it rise until doubled in size, about 1 to 1.5 hours.
- Shape the Loaves: Punch the dough down gently to release air bubbles. Divide the dough into two equal portions. Press each portion into a rectangle, roughly the width of your loaf pan. Roll it up tightly jelly-roll style, pinching the seams closed and tucking the ends under.
- Second Rise: Place the shaped loaves into greased 9×5 inch loaf pans. Cover loosely and let them rise again in a warm place until the dough crowns about 1 inch over the rim of the pan, roughly 45-60 minutes.
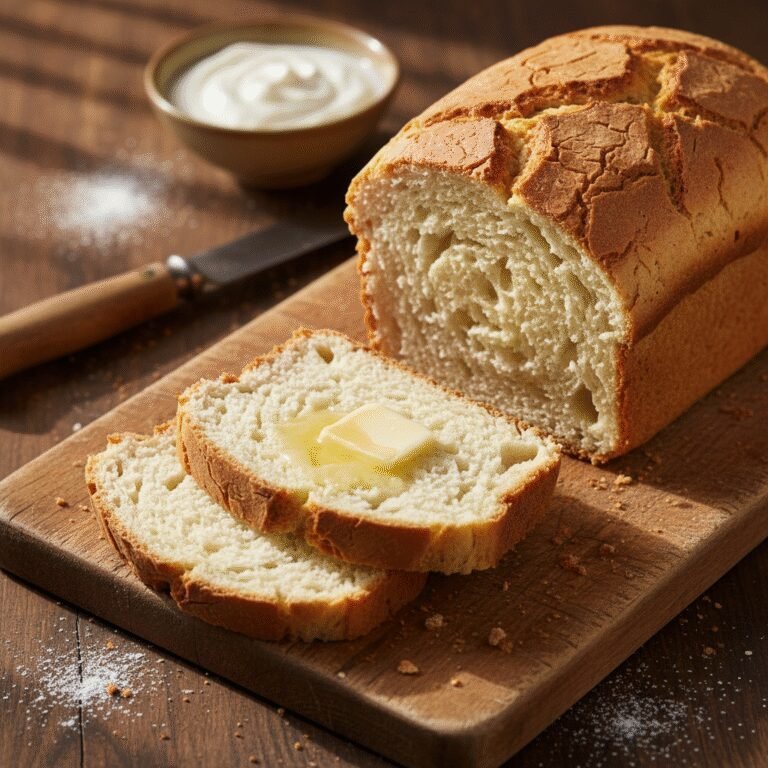
- Bake: Preheat your oven to 350°F (175°C). Bake the loaves for 30-40 minutes. The tops should be golden brown, and the bread should sound hollow when tapped on the bottom. An internal thermometer should read 190°F.
- Cool: Remove the bread from the pans immediately and place them on a wire rack to cool completely before slicing. This is the hardest part, but slicing too early can make the texture gummy!
Expert Cooking Tips
- ✓Don’t Scoop the Flour: Weigh your flour if possible (approx 120g per cup), or fluff it with a spoon and level it off. Scooping packs the flour and leads to dense bread.
- ✓Check Your Yeast: If the yeast doesn’t foam in the first step, toss it and start fresh. Old yeast is the number one cause of failed bread.
- ✓Warmth Matters: If your kitchen is cold, let the dough rise in the oven with just the light on.
- ✓White Whole Wheat: For picky eaters, try using ‘White Whole Wheat Flour’. It has the same nutrition as red whole wheat but a milder flavor and lighter color.
Substitutions and Variations
If you don’t have honey, maple syrup or molasses works beautifully and adds a deeper flavor. You can swap the olive oil for melted butter for a richer taste or coconut oil for a dairy-free option. If you don’t have vital wheat gluten, don’t worry—the bread will still be delicious, just slightly less lofty.
Common Mistakes to Avoid
The biggest mistake is adding too much flour. Whole wheat dough should be slightly tacky to the touch. If you add enough flour so that it’s completely dry and non-stick, your baked loaf will be dry and crumbly. Another common error is rushing the cooling process. Bread continues to cook internally after it leaves the oven; cutting it while hot releases steam that needs to stay inside to keep the crumb soft.
Serving Suggestions
This bread shines when toasted and topped with avocado and poached eggs for breakfast. It makes incredible French toast because of its sturdy structure. For lunch, it’s the perfect vehicle for a turkey club or a classic grilled cheese. Serve a thick slice alongside a hearty vegetable soup or chili for dipping.
Storage and Reheating Tips
Store the bread in an airtight bag or bread box at room temperature for up to 3-4 days. Do not store it in the refrigerator, as this actually speeds up staling! For longer storage, slice the bread, wrap it tightly, and freeze for up to 3 months. You can toast slices straight from the freezer.
Nutrition Facts (Estimated)
| Serving Size | 1 Slice |
| Calories | 140 |
| Fat | 2.5g |
| Saturated Fat | 0.5g |
| Unsaturated Fat | 1.5g |
| Trans Fat | 0g |
| Cholesterol | 0mg |
| Sodium | 180mg |
| Carbohydrates | 26g |
| Fiber | 4g |
| Sugar | 3g |
| Protein | 5g |
Frequently Asked Questions
Why is my whole wheat bread so dense?
Density usually comes from either too much flour, not enough kneading, or dead yeast. Whole wheat flour is heavy, so ensure you are kneading enough to develop the gluten structure to lift that weight.
Can I use instant yeast instead of active dry?
Yes! If using instant yeast, you can skip the proofing step in water and mix the yeast directly with the dry ingredients. The rise times might be slightly faster.
What is vital wheat gluten and do I really need it?
Vital wheat gluten is basically pure gluten powder. Adding a tablespoon helps strengthen the dough structure, which is often weakened by the bran in whole wheat flour. It’s not mandatory, but it helps achieve a bakery-style fluffiness.
Can I make this recipe in a bread machine?
Absolutely. Add ingredients to the bread machine pan in the order recommended by your manufacturer (usually liquids first, then dry, yeast last) and use the ‘Whole Wheat’ setting.
How do I know when the dough has risen enough?
Use the poke test! Gently press your finger into the dough about half an inch. If the indentation stays, it’s ready. If it springs back immediately, it needs more time.
My dough is too sticky to handle, what should I do?
It’s better to have sticky dough than dry dough. Try oiling your hands or the work surface instead of adding more flour. If it’s truly unmanageable, add flour one tablespoon at a time.
Can I use all-purpose flour for half of the recipe?
Yes, doing a 50/50 split (half whole wheat, half all-purpose or bread flour) will result in an even lighter, fluffier loaf that is a great transition for kids used to white bread.
Is this bread vegan?
If you use maple syrup or agave instead of honey, and stick to oil instead of butter, this recipe is 100% vegan.
Conclusion
Making your own whole grain bread is one of those simple kitchen victories that feels huge. Not only are you saving money and avoiding preservatives, but you are also nourishing your family with wholesome ingredients. Once you pull these golden-brown loaves out of the oven and take that first bite of warm, soft goodness, you’ll wonder why you ever bought the bagged stuff. Happy baking!