No Bake Berry Cheesecake Bars
Say goodbye to turning on the oven this summer! These No Bake Berry Cheesecake Bars are the perfect blend of creamy, crunchy, and fruity, making them an absolute hit for family gatherings or a quiet treat after the kids are in bed.
25 minutes
0 minutes
4 hours 25 minutes (includes chilling)
12 bars
Dessert
No Bake / Chilling
American
Vegetarian
Hey there, busy mamas! Let’s be real for a second—who actually wants to turn on a 350-degree oven when it’s blazing hot outside? Not me, and I’m guessing not you either. But does that mean we stop craving decadent, creamy desserts? Absolutely not. That is exactly where these No Bake Berry Cheesecake Bars come in to save the day (and your sanity).
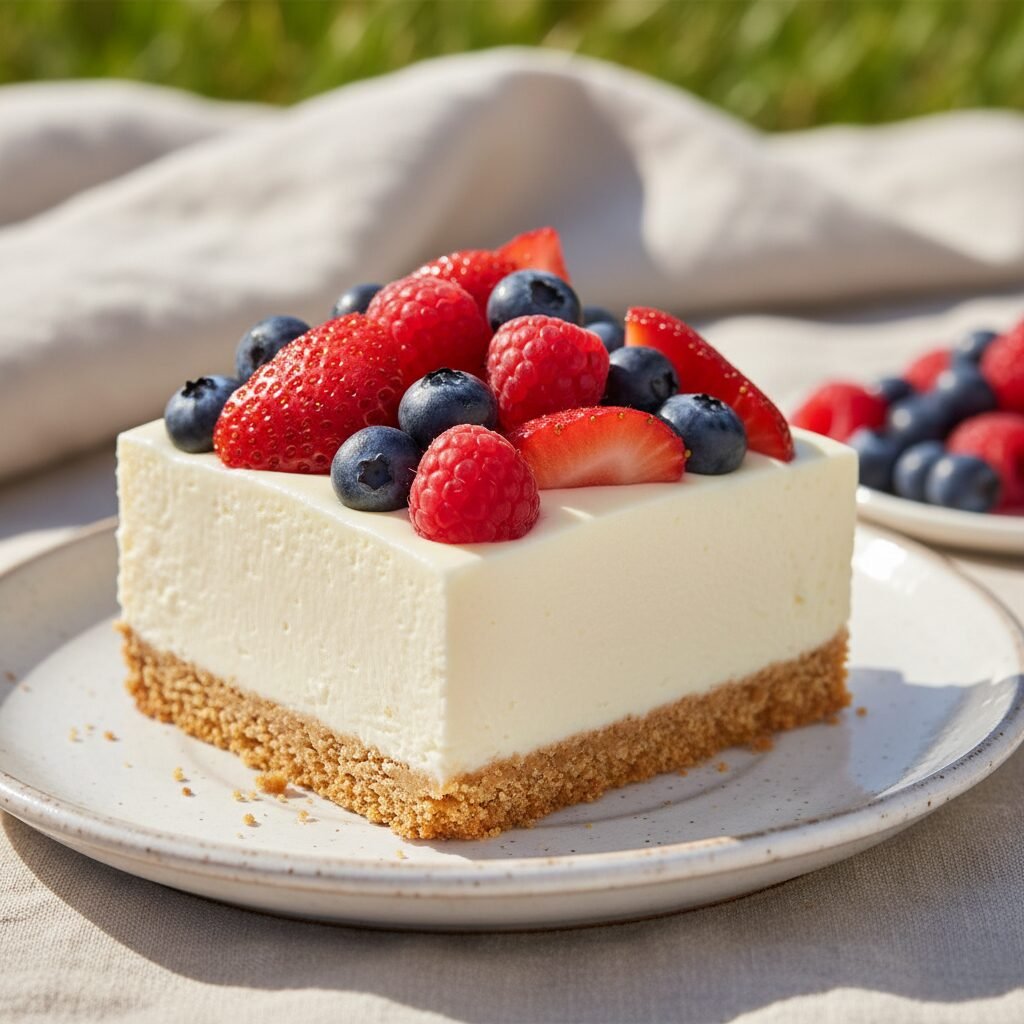
Imagine a dessert that looks like you spent hours slaving away in a patisserie kitchen but actually took you less than 30 minutes of hands-on time. We are talking about a buttery, golden graham cracker crust that provides the perfect crunch, layered underneath a velvety, cloud-like cheesecake filling that melts in your mouth. Top that off with a vibrant mosaic of fresh strawberries, blueberries, and raspberries, and you have a showstopper.
I started making these when my kids were toddlers because I needed something sweet that didn’t require constant monitoring. No water baths, no cracks to worry about, and definitely no heat. It’s the kind of recipe that makes you look like a domestic goddess at the neighborhood potluck, even if you just threw it together while helping with homework. Grab your mixer and let’s make some magic!
History & Origins
While we often associate cheesecake with the classic New York style—dense, baked, and rich—the concept of cheesecake actually dates back to ancient Greece. They served it to athletes at the first Olympic Games in 776 B.C. for energy! However, the no-bake revolution is a much more modern marvel.
The rise of the refrigerator in the early 20th century birthed a whole new category of desserts known as ‘icebox cakes.’ Homemakers in the 1930s and 40s embraced recipes that used gelatin or whipped cream to set fillings rather than eggs and heat. This specific style of berry bar is a descendant of those mid-century convenience desserts, evolved to rely on the stability of high-fat cream cheese and heavy whipping cream rather than just gelatin packets. It represents the best of modern home cooking: maximum flavor with minimal fuss.
Why This Recipe Works
You might be wondering, how does this stay firm without eggs or baking? The secret lies in the mechanical aeration of the heavy cream and the chemical reaction between the cream cheese and sugar. When you whip heavy cream to stiff peaks, you are trapping air bubbles inside fat networks. When you gently fold this into the beaten cream cheese, you create a structure that is stable yet airy.
Furthermore, the acidity from the lemon juice does a little bit of science magic called ‘denaturation,’ helping to tighten the proteins in the cream cheese slightly. By chilling the bars for several hours, the fat solidifies, resulting in a sliceable bar that holds its shape beautifully at cool room temperatures but retains a creamy, mousse-like texture that baked cheesecakes just can’t replicate.
Why You’ll Love This Recipe
- ✓Requires absolutely zero baking time
- ✓Perfect balance of sweet and tart flavors
- ✓Customizable with any seasonal fruit
- ✓Great for making ahead of time
- ✓Kid-friendly preparation steps
- ✓Creamy, mousse-like texture
Equipment You’ll Need
- ✓8×8 or 9×9 inch square baking pan
- ✓Parchment paper
- ✓Food processor or ziplock bag and rolling pin
- ✓Electric hand mixer or stand mixer
- ✓Large mixing bowl
- ✓Rubber spatula
- ✓Measuring cups and spoons
Ingredients
- ✓For the Crust:
- ✓1 1/2 cups graham cracker crumbs (about 10-12 full sheets)
- ✓1/3 cup unsalted butter, melted
- ✓1/4 cup granulated sugar
- ✓Pinch of salt
- ✓For the Cheesecake Filling:
- ✓16 oz (2 blocks) cream cheese, softened to room temperature
- ✓1/2 cup powdered sugar (confectioners’ sugar)
- ✓1 teaspoon pure vanilla extract
- ✓1 tablespoon fresh lemon juice
- ✓1 cup heavy whipping cream, cold
- ✓For the Topping:
- ✓1 1/2 cups fresh mixed berries (strawberries, blueberries, raspberries)
- ✓Optional: Fresh mint leaves for garnish
Instructions
- Prepare the Pan: Line an 8×8 or 9×9 inch square pan with parchment paper, leaving an overhang on the sides. This ‘sling’ will make it super easy to lift the bars out later.
- Make the Crust: In a medium bowl, combine the graham cracker crumbs, melted butter, 1/4 cup granulated sugar, and salt. Mix until it resembles wet sand.
- Press the Crust: Pour the crumb mixture into the prepared pan. Use the bottom of a measuring cup or glass to press it down firmly and evenly. Pop this in the freezer while you make the filling to help it set.
- Whip the Cream: In a separate cold bowl, whip the heavy cream until stiff peaks form. Be careful not to over-whip into butter! Set aside.
- Beat Cream Cheese: In a large bowl, beat the softened cream cheese until it is completely smooth and creamy. Add the powdered sugar, vanilla extract, and lemon juice. Beat for another 2-3 minutes until fluffy.
- Combine: Gently fold the whipped cream into the cream cheese mixture using a rubber spatula. Use a folding motion (down, across, up, and over) to keep the air in the mixture. Do this until no white streaks of cream remain.
- Layer It Up: Remove the crust from the freezer. Spread the cheesecake filling evenly over the crust, smoothing the top with an offset spatula or the back of a spoon.
- Chill: Cover the pan with plastic wrap and refrigerate for at least 4 hours, preferably overnight. This step is non-negotiable for clean slices!
- Top and Serve: Once set, lift the bars out of the pan using the parchment paper handles. Slice into squares. Top generously with fresh berries right before serving.
Expert Cooking Tips
- ✓Room Temperature is Key: Ensure your cream cheese is truly at room temperature before mixing. If it’s cold, you will end up with lumpy cheesecake.
- ✓Stiff Peaks: When whipping the cream, make sure it holds its shape firmly. This provides the structural integrity for the bars.
- ✓Clean Cuts: For bakery-style slices, wipe your knife with a warm, damp cloth between each cut.
- ✓Press Firmly: Really pack that crust down. If it’s too loose, the bars will crumble when you pick them up.
Substitutions and Variations
No graham crackers? No problem! You can use digestive biscuits, vanilla wafers, or even Oreos (remove the cream filling first) for the crust. For a gluten-free version, simply swap in gluten-free graham style crackers.
If you want to lighten things up slightly, you can substitute half of the heavy cream with Greek yogurt, though the texture will be tangier and slightly less firm. Don’t have powdered sugar? You can blitz granulated sugar in a blender until fine, but store-bought powdered sugar contains a little cornstarch which helps stabilize the filling!
Common Mistakes to Avoid
The biggest mistake people make with no-bake cheesecake is rushing the chilling process. I know, it’s tempting to dig in after an hour, but the filling needs time for the fats to recrystallize. If you cut it too soon, it will be a delicious puddle rather than a bar.
Another common error is over-mixing the whipped cream. Once you add the whipped cream to the cheese, stop using the electric mixer! Fold by hand gently. Using a mixer at this stage knocks out all the air bubbles you worked so hard to create, resulting in a dense, heavy bar.
Serving Suggestions
These bars are stunning on their own, but if you want to elevate them for a dinner party, try drizzling a little fruit coulis or melted white chocolate over the top. Serve them on a chilled platter with a sprig of mint on each square for a pop of color.
For a fun ‘DIY’ dessert station at a BBQ, serve the plain cheesecake bars and put out bowls of different toppings—sliced kiwi, mango, chocolate chips, or caramel sauce—so the kids (and adults) can decorate their own.
Storage and Reheating Tips
These bars need to live in the fridge. Store leftovers in an airtight container in the refrigerator for up to 5 days. Do not leave them out in the sun or on the counter for more than 30 minutes, or they will start to soften too much.
Can you freeze them? Yes! These freeze surprisingly well. Wrap individual bars in plastic wrap and store in a freezer bag for up to 2 months. Thaw them in the fridge for an hour before eating for a texture that tastes like cheesecake ice cream!
Nutrition Facts (Estimated)
| Serving Size | 1 bar |
| Calories | 320 |
| Fat | 22g |
| Saturated Fat | 13g |
| Unsaturated Fat | 8g |
| Trans Fat | 0g |
| Cholesterol | 65mg |
| Sodium | 210mg |
| Carbohydrates | 28g |
| Fiber | 1g |
| Sugar | 18g |
| Protein | 4g |
Frequently Asked Questions
Can I use frozen berries instead of fresh?
I recommend using fresh berries for the topping. Frozen berries tend to release a lot of water as they thaw, which can make the top of your cheesecake soggy and bleed color into the white filling.
Why is my filling runny?
This usually happens if the heavy cream wasn’t whipped to stiff peaks or if the mixture wasn’t chilled long enough. Ensure you use full-fat brick cream cheese, not the tub variety meant for spreading on bagels.
Can I make this ahead of time?
Absolutely! In fact, it’s better if you do. Making it the day before allows the flavors to meld and the texture to set perfectly. Just wait to add the fresh fruit until right before serving.
Do I need to grease the pan?
It helps to lightly grease the pan to keep the parchment paper in place, but the parchment paper sling is the most important part for removing the bars easily.
Can I use low-fat cream cheese?
Technically yes, but the bars will be softer and less rich. Full-fat cream cheese provides the best stability for no-bake desserts.
How do I get the crust to stick together better?
Ensure you are using enough butter. The mixture should feel like wet sand. Pressing it down very firmly with a flat-bottomed glass is crucial for a solid base.
Can I add flavor to the filling?
Yes! You can fold in lemon zest, orange zest, or even swirl in a little fruit jam (carefully) for a rippled effect.
Is this safe for pregnant women?
Since there are no raw eggs in this recipe, it is generally considered safe, provided you use pasteurized dairy products.
Conclusion
There you have it—the easiest, breeziest dessert you’ll make all summer. These No Bake Berry Cheesecake Bars are proof that you don’t need heat to make something heartwarming. They are creamy, dreamy, and bursting with the fresh flavors of the season.
Whether you are hosting a backyard barbecue, looking for a treat to bring to a baby shower, or just need a sweet escape after a long week of mom-duty, this recipe has your back. Don’t forget to pin this recipe for later, because once you taste that first bite, your family is going to beg for these on repeat!