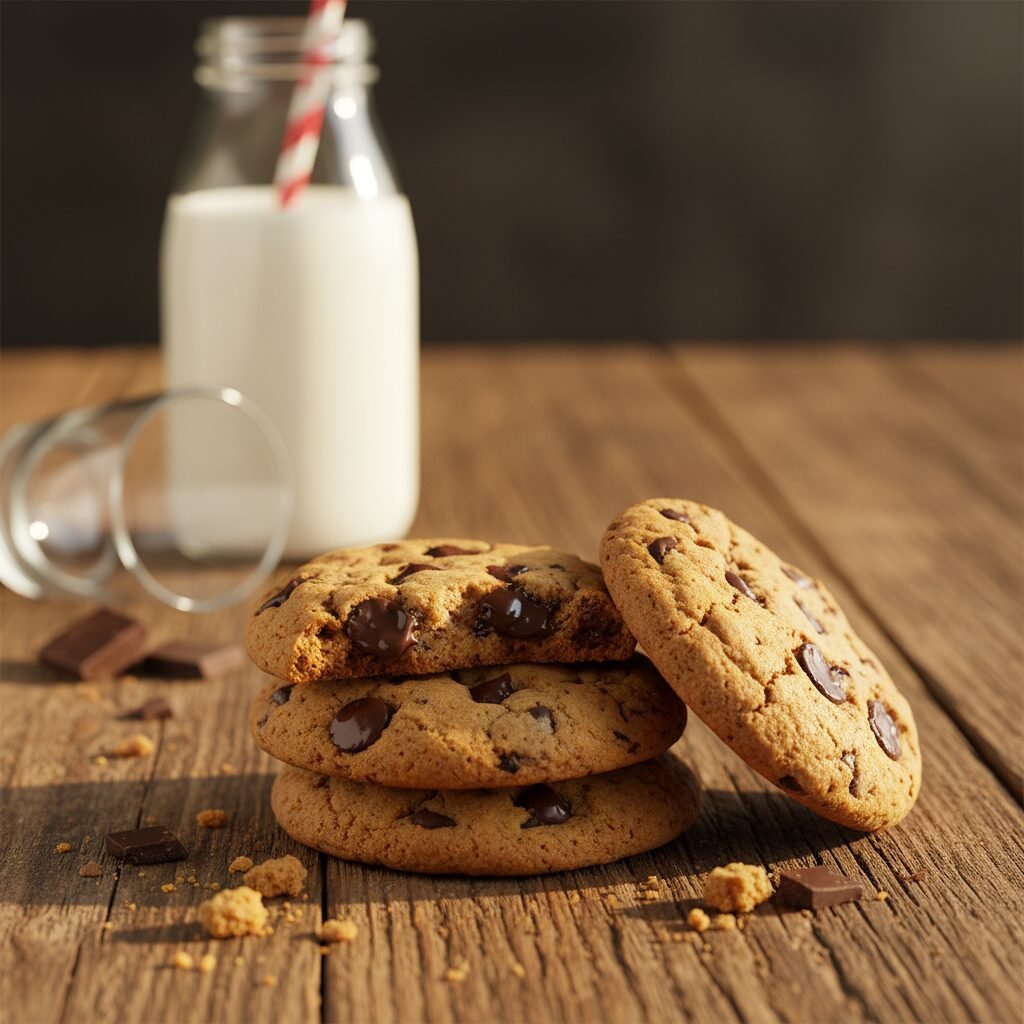
Nestle Chocolate Chip Cookie Recipe
Get ready to fill your kitchen with the nostalgic aroma of the world’s most famous cookie. These are the classic, chewy, and perfectly sweet chocolate chip cookies that defined our childhoods.
15 minutes
10 minutes
25 minutes
5 dozen cookies
Dessert
Baking
American
Vegetarian
Hey there, cookie lovers! Is there anything more comforting than the smell of freshly baked chocolate chip cookies wafting through the house? I don’t think so! Today, we are diving deep into the holy grail of baking: the classic Nestle Toll House Chocolate Chip Cookie. This isn’t just a recipe; it is a rite of passage for home bakers everywhere. Whether you are a mom looking for a fun weekend activity with the kiddos or just craving that specific gooey texture that only this classic recipe delivers, you have come to the right place.
We have all seen that iconic yellow bag in the baking aisle, right? It practically screams childhood memories. But have you ever wondered why sometimes they come out flat, and other times they are puffy and cakey? I am going to walk you through exactly how to nail that perfect balance of crispy edges and soft, chewy centers every single time. Grab your mixer and a tall glass of milk, because we are about to bake some magic!
History & Origins
Let’s take a little trip back in time! The chocolate chip cookie, specifically the Toll House cookie, has a legendary origin story that dates back to the late 1930s. It was created by Ruth Wakefield, who owned the Toll House Inn in Whitman, Massachusetts. The popular myth is that she ran out of baker’s chocolate and substituted broken pieces of semi-sweet chocolate, thinking they would melt. Spoiler alert: they didn’t!
However, the truth is even more impressive. Ruth was an accomplished chef and developed the recipe intentionally to pair with ice cream. She famously used a Nestle semi-sweet chocolate bar, chopping it into small bits with an ice pick. The recipe became so popular that Nestle struck a deal with her: they would print her recipe on the back of every package of their chocolate chips (which they started manufacturing because of her!), and in return, she got a lifetime supply of chocolate. Talk about a sweet deal!
Why This Recipe Works
So, what makes this specific recipe the gold standard? It comes down to the science of sugar and fat. The Nestle recipe uses a specific ratio of brown sugar to white sugar. The white sugar helps the edges crisp up, giving you that satisfying crunch, while the brown sugar contains molasses, which adds moisture and creates that chewy, dense center we all crave.
Another key factor is the leavening agent. This recipe relies on baking soda, which reacts with the acidity in the brown sugar to create carbon dioxide gas. This gives the cookie a quick lift but encourages it to spread, resulting in that classic, flatter, bakery-style cookie rather than a tall, cakey mound. Finally, the high fat content from the butter ensures the flavor is rich and carries the vanilla notes perfectly throughout the dough.
Why You’ll Love This Recipe
- ✓The perfect balance of crispy edges and chewy centers
- ✓Uses simple pantry staples you likely have right now
- ✓Ready in under 30 minutes from mixing to eating
- ✓Highly customizable with nuts or different chocolate chips
- ✓The ultimate comfort food for kids and adults alike
Equipment You’ll Need
- ✓Stand mixer or hand mixer
- ✓Large mixing bowl
- ✓Medium mixing bowl
- ✓Measuring cups and spoons
- ✓Baking sheets
- ✓Parchment paper or silicone baking mats
- ✓Wire cooling rack
- ✓Spatula
Ingredients
- ✓2 1/4 cups all-purpose flour
- ✓1 teaspoon baking soda
- ✓1 teaspoon salt
- ✓1 cup (2 sticks) butter, softened
- ✓3/4 cup granulated sugar
- ✓3/4 cup packed brown sugar
- ✓1 teaspoon vanilla extract
- ✓2 large eggs
- ✓2 cups (12-oz. package) Nestle Toll House Semi-Sweet Chocolate Morsels
- ✓1 cup chopped nuts (optional, walnuts or pecans work best)
Instructions
- Preheat your oven to 375°F (190°C). This temperature is crucial for getting that golden-brown color without drying out the cookie.
- In a small bowl, combine the flour, baking soda, and salt. Whisk them together to ensure the leavening agent is evenly distributed. Set this dry mixture aside.
- In a large mixer bowl, beat the softened butter, granulated sugar, brown sugar, and vanilla extract. You want to beat this until it is creamy and smooth, usually about 2-3 minutes. This process, called creaming, aerates the butter.
- Add the eggs to the butter mixture, one at a time, beating well after each addition. Make sure the yolk is fully incorporated before adding the next.
- Gradually beat in the flour mixture. Do this on a low speed to avoid a flour explosion in your kitchen! Mix just until the flour streaks disappear—do not overmix.
- Stir in the chocolate morsels and chopped nuts (if you are using them) by hand using a spatula or wooden spoon. This prevents breaking the chips.
- Drop the dough by rounded tablespoons onto ungreased baking sheets. If you want perfectly uniform cookies, use a cookie scoop.
- Bake for 9 to 11 minutes or until the cookies are golden brown. The centers might look slightly underdone, but that is okay!
- Cool on the baking sheets for 2 minutes. This allows them to set. Then, remove them to wire racks to cool completely (if you can wait that long!).
Expert Cooking Tips
- ✓Ensure your butter is softened, not melted. Melted butter will cause the cookies to spread too much and become greasy.
- ✓Measure your flour correctly by spooning it into the measuring cup and leveling it off with a knife. Scooping directly from the bag packs the flour and leads to dry cookies.
- ✓If you have time, chill the dough for an hour before baking. This ripens the flavor and improves the texture significantly.
- ✓Use room temperature eggs so they incorporate more easily into the butter mixture.
- ✓Rotate your baking sheet halfway through the cooking time to ensure an even bake across all cookies.
Substitutions and Variations
Running low on ingredients? Don’t panic! If you don’t have butter, you can use margarine, but the flavor won’t be quite as rich. For a gluten-free version, swap the all-purpose flour for a high-quality 1:1 gluten-free flour blend. If you are out of brown sugar, you can make your own by mixing 1 cup of white sugar with 1 tablespoon of molasses. You can also swap the semi-sweet chips for milk chocolate, white chocolate, or even butterscotch chips for a fun twist!
Common Mistakes to Avoid
The biggest mistake people make is overbaking. The cookies continue to cook on the hot baking sheet even after you pull them out of the oven. If they look fully done in the oven, they will be hard as rocks once they cool. Another common issue is putting dough on a hot baking sheet. Always let your baking sheet cool down between batches, or run it under cold water and dry it off, otherwise, the butter melts instantly and the cookies spread into puddles.
Serving Suggestions
These cookies are absolute perfection when served warm with a tall glass of cold milk. For a decadent dessert, use two cookies to sandwich a scoop of vanilla bean ice cream for a homemade ice cream sandwich. You can also crumble them over a sundae or dip them in your morning coffee if you are feeling adventurous!
Storage and Reheating Tips
To keep your cookies soft, store them in an airtight container at room temperature for up to 5 days. A pro tip is to throw a slice of white bread into the container; the cookies will absorb moisture from the bread and stay soft longer! You can also freeze the baked cookies for up to 3 months. Just thaw them on the counter before eating. If you want fresh cookies on demand, freeze the raw dough balls and bake them straight from the freezer, just adding an extra minute or two to the bake time.
Nutrition Facts (Estimated)
| Serving Size | 1 cookie |
| Calories | 108 kcal |
| Fat | 6g |
| Saturated Fat | 3g |
| Unsaturated Fat | 2g |
| Trans Fat | 0g |
| Cholesterol | 15mg |
| Sodium | 75mg |
| Carbohydrates | 13g |
| Fiber | 0.5g |
| Sugar | 11g |
| Protein | 1g |
Frequently Asked Questions
Why are my cookies flat?
Flat cookies are usually caused by butter that was too warm or melted before mixing. It could also be that you didn’t use enough flour. Try chilling your dough before baking to help them hold their shape.
Can I halve this recipe?
Absolutely! This recipe halves very easily. Just use 1 egg, half the butter, and half of all dry ingredients. The cooking time remains the same.
Why did my cookies come out hard?
Hard cookies are typically a result of overbaking or measuring too much flour. Remember to pull them out when the centers still look slightly soft.
Do I have to use nuts?
No way! The nuts are completely optional. The original recipe calls for them, but if you have allergies or picky eaters, simply leave them out or replace them with more chocolate chips.
Can I make the dough ahead of time?
Yes, making the dough ahead is actually better for the flavor! You can keep the dough in the refrigerator for up to 3 days before baking.
What kind of salt should I use?
Standard table salt works best for this recipe as it disperses evenly. If you use coarse sea salt, you might get salty crunches, which some people love, but it changes the classic profile.
My cookies are too cakey, what happened?
Cakey cookies usually mean too much flour or too many eggs. Ensure you are measuring flour by spooning and leveling, not scooping.
Can I use dark chocolate chips?
Yes! Dark chocolate chips add a sophisticated, less sweet flavor that balances the sugary dough beautifully.
Conclusion
There you have it, friends! The blueprint for the ultimate Nestle Toll House Chocolate Chip Cookies. It is a recipe that has stood the test of time for a reason—it is reliable, delicious, and wraps you in a warm hug with every bite. I hope this guide helps you create some beautiful memories in your kitchen. Whether you are baking for a school bake sale, a holiday party, or just a Tuesday night treat, you really can’t go wrong with this classic. Happy baking!