Milk Bread Recipe
If you have ever dreamed of bread that tastes like a cloud, this is it. Using the magical Tangzhong method, this Japanese Milk Bread is impossibly soft, slightly sweet, and perfect for the ultimate toast.
45 minutes
30 minutes
3 hours 30 minutes
1 Loaf (9×5 inch pan)
Bread
Baking
Japanese
Vegetarian
Welcome to the recipe that is about to change your baking game forever. Seriously, friends, if you have never tried Japanese Milk Bread (also known as Shokupan), you are in for the treat of a lifetime. Imagine a loaf of bread that is so soft, it practically melts in your mouth, with a crust that is paper-thin and a crumb that pulls apart in wispy, cotton-candy-like strands. It is the kind of bread that makes the best toast you will ever eat, and it elevates a simple grilled cheese sandwich into a gourmet experience.
I know yeast baking can be a little intimidating, especially if you are a busy mom trying to juggle a million things. But trust me, this recipe is incredibly forgiving. The secret weapon here is something called Tangzhong. It sounds fancy and technical, but it is actually just a simple flour-and-water roux that takes about three minutes to make on the stove. This little step locks moisture into the dough, ensuring your bread stays soft and fresh for days—if it lasts that long! My kids absolutely devour this bread straight out of the oven, and I love that I know exactly what ingredients went into it.
So, grab your apron and let’s get baking. We are going to make your kitchen smell like the best bakery in town, and you are going to feel like a total rockstar when you pull this golden, fluffy masterpiece out of the oven.
History & Origins
Let’s take a quick trip to Japan! While bread isn’t the first food you might associate with Japanese cuisine, their baking culture is absolutely fascinating and highly refined. Shokupan, which literally translates to “eating bread,” became a staple in Japan during the 20th century. However, it wasn’t just about sustenance; Japanese bakers, known for their perfectionism, sought to create a white bread that was softer, moister, and sweeter than the standard Western loaves.
The technique that truly defines this style of bread involves the Tangzhong method (and sometimes the Yudane method). While the origins of water roux techniques can be traced back to China, it was popularized across Asia, particularly in Japan and Taiwan, as the secret to creating buns and loaves that stay soft in humid climates. Today, Shokupan is a culinary icon in Japan, often sold in specialized bakeries where people line up just to get a loaf of this “mochi-mochi” (chewy and soft) bread.
Why This Recipe Works
You might be wondering, “What is the big deal about cooking flour and water before adding it to the dough?” This is where the science of baking gets really cool! The Tangzhong method involves heating a small portion of the flour and liquid (water or milk) to 65°C (149°F). At this temperature, the starch in the flour gelatinizes. This means the starch granules swell and absorb significantly more liquid than they would at room temperature.
Because the starch holds onto this water so tightly, two amazing things happen. First, you can add more hydration to the dough without it becoming a sticky, unmanageable mess. Second, that trapped moisture stays inside the bread after baking. This results in a loaf that has a higher rise due to the internal steam created, a texture that is incredibly springy and fluffy, and a shelf life that far exceeds standard homemade bread. It basically prevents the bread from going stale quickly. It is a little bit of science that feels like magic!
Why You’ll Love This Recipe
- ✓Uses the Tangzhong method for extended freshness
- ✓Incredibly soft, shreddable texture
- ✓Perfect balance of milky and slightly sweet flavors
- ✓Makes the world’s best French Toast
- ✓Detailed steps suitable for intermediate beginners
Equipment You’ll Need
- ✓9×5 inch Loaf Pan
- ✓Stand Mixer with Dough Hook (recommended)
- ✓Small Saucepan
- ✓Whisk
- ✓Digital Kitchen Scale
- ✓Rolling Pin
- ✓Pastry Brush
Ingredients
- ✓For the Tangzhong:
- ✓3 tablespoons (25g) Bread Flour
- ✓1/2 cup (120ml) Whole Milk (or water)
- ✓For the Dough:
- ✓2 ½ cups (350g) Bread Flour
- ✓1/4 cup (50g) Granulated Sugar
- ✓1 teaspoon (3g) Instant Yeast
- ✓1 teaspoon (5g) Salt
- ✓1/2 cup (120ml) Whole Milk, lukewarm
- ✓1 large Egg, room temperature
- ✓3 tablespoons (42g) Unsalted Butter, softened
- ✓For the Egg Wash:
- ✓1 large Egg beaten with 1 tbsp milk
Instructions
- Step 1: Make the Tangzhong. In your small saucepan, whisk together the 3 tablespoons of bread flour and 1/2 cup of milk until no lumps remain. Turn the heat to medium-low and cook, stirring constantly. The mixture will thicken into a paste that resembles mashed potatoes. This takes about 2-3 minutes. Remove from heat and transfer to a small bowl to cool to room temperature.
- Step 2: Mix the Dry Ingredients. In the bowl of your stand mixer, combine the bread flour, sugar, instant yeast, and salt. Give it a quick whisk to distribute the yeast.
- Step 3: Combine and Knead. Add the lukewarm milk, the egg, and your cooled Tangzhong paste to the dry ingredients. Using the dough hook, mix on low speed until the flour is incorporated. Turn the speed up to medium-low and knead for about 5-8 minutes. The dough will be sticky, but don’t panic!
- Step 4: Add the Butter. Add the softened butter one tablespoon at a time while the mixer is running. Once all the butter is added, continue kneading on medium speed for another 5-10 minutes. This is the most important part! You want the dough to become smooth, elastic, and pass the ‘windowpane test’ (where you can stretch a piece of dough thin enough to see light through it without it tearing).
- Step 5: First Rise. Shape the dough into a smooth ball. Lightly grease a large bowl with oil or butter. Place the dough inside, cover with plastic wrap or a damp towel, and let it rise in a warm place for about 60-90 minutes, or until it has doubled in size.
- Step 6: Divide and Shape. Punch the dough down gently to release air. Divide the dough into 3 equal pieces (use a scale if you want to be precise!). Roll each piece into a small ball, cover, and let them rest for 15 minutes. This relaxes the gluten.
- Step 7: The Rolling Technique. Take one ball and roll it out into a long oval shape. Fold the right third over to the middle, then the left third over that (like a letter). Use the rolling pin to flatten this folded strip slightly, then roll it up from the bottom into a tight spiral log. Repeat with the other two dough balls.
- Step 8: Second Rise. Place the three spirals side-by-side into your greased loaf pan. Cover and let rise again in a warm spot. This usually takes 45-60 minutes. You want the dough to rise until it is just cresting over the top of the pan.
- Step 9: Bake. Preheat your oven to 350°F (175°C). Gently brush the top of the loaf with your egg wash for that shiny, golden finish. Bake for 30-35 minutes. If the top gets too dark too quickly, tent it loosely with aluminum foil for the last 10 minutes.
- Step 10: Cool. Remove from the oven and immediately take the bread out of the pan to cool on a wire rack. Let it cool completely before slicing (I know, it’s hard to wait!) to prevent the crumb from becoming gummy.
Expert Cooking Tips
- ✓Weigh your ingredients! For baking bread, using a digital scale is a game-changer. Cups can vary wildly depending on how you scoop.
- ✓Room temperature ingredients. Make sure your egg and butter are at room temperature. Cold ingredients can shock the yeast and slow down the rise.
- ✓Don’t add too much flour. The dough is supposed to be slightly tacky. Resist the urge to dump in more flour during kneading, or your bread will be dense.
- ✓The Windowpane Test. Do not skip this! If the dough tears easily when stretched, keep kneading. The gluten needs to be fully developed to hold the air bubbles.
- ✓Milk powder boost. For an extra milky flavor, you can add 1-2 tablespoons of milk powder to the dry ingredients.
Substitutions and Variations
We all have those moments where we are missing one ingredient! Here is how to swap things out:
- Bread Flour: You can use All-Purpose flour, but the bread won’t be quite as chewy or rise as high because AP flour has less protein (gluten). If you use AP flour, you might need slightly less liquid.
- Milk: If you are dairy-free, you can use almond milk, oat milk, or soy milk. It works surprisingly well! Swap the butter for a vegan butter block or even coconut oil.
- Instant Yeast: If you only have Active Dry Yeast, activate it first in the warm milk with a pinch of sugar for 5-10 minutes until it gets foamy before adding it to the flour.
- Heavy Cream: Some recipes use heavy cream instead of milk for the liquid portion. This makes a richer, more brioche-like loaf, which is delicious but higher in calories.
Common Mistakes to Avoid
The biggest mistake people make with Milk Bread is rushing the rise. Yeast is a living organism and needs time to work its magic. If your kitchen is cold, it might take longer than the recipe says. Go by the size of the dough, not just the clock. Another common pitfall is overheating the milk. If your milk is hot to the touch (over 110°F), it can kill the yeast, and your bread will be a sad, flat brick. Aim for lukewarm—like a baby’s bathwater. Finally, slicing too soon. I know the smell is irresistible, but cutting into hot bread releases the steam that is finishing the cooking process inside. The texture will end up gummy instead of fluffy.
Serving Suggestions
This bread is a star on its own, but here are some ways to enjoy it:
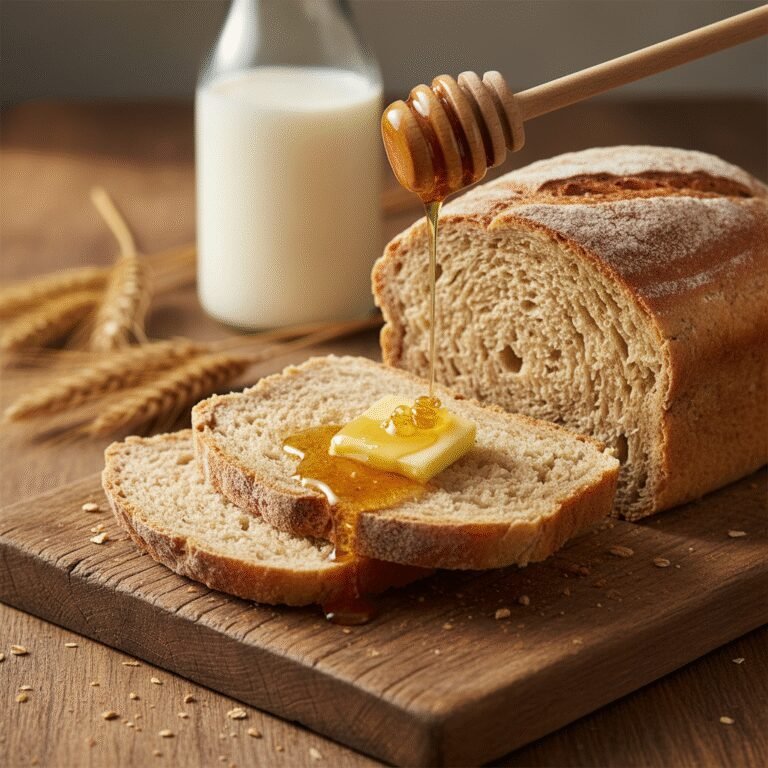
- Thick Toast: Slice it thicker than normal (Texas toast style), toast it, and slather with salted butter and strawberry jam.
- Sandwiches: It makes the most incredible egg salad or cucumber sandwiches because the bread is so soft it doesn’t squish the filling out.
- French Toast: Because of the sturdy yet soft crumb, Shokupan soaks up custard beautifully without falling apart.
- Fruit Sandwiches: Try the Japanese trend of ‘Fruit Sando’—whipped cream and fresh strawberries sandwiched between two slices of fluffy milk bread.
Storage and Reheating Tips
Thanks to the Tangzhong method, this bread stays fresh longer than typical homemade loaves! Store it in an airtight bag or bread box at room temperature for up to 3-4 days. Avoid the refrigerator, as it actually dries bread out faster. If you can’t finish it in a few days, slice the entire loaf, wrap the slices individually in plastic wrap, and freeze them in a ziplock bag. You can pop a frozen slice directly into the toaster, and it tastes just as fresh as the day it was baked!
Nutrition Facts (Estimated)
| Serving Size | 1 Slice |
| Calories | 185 kcal |
| Fat | 5g |
| Saturated Fat | 3g |
| Unsaturated Fat | 2g |
| Trans Fat | 0g |
| Cholesterol | 25mg |
| Sodium | 180mg |
| Carbohydrates | 30g |
| Fiber | 1g |
| Sugar | 4g |
| Protein | 5g |
Frequently Asked Questions
Can I make this without a stand mixer?
Yes, absolutely! However, be prepared for a workout. The dough is sticky and requires about 15-20 minutes of vigorous hand kneading to reach the windowpane stage. It is messy but rewarding!
Why is my dough so sticky?
That is normal! Milk bread dough has high hydration. Do not add excessive flour. Just keep kneading; as the gluten develops, it will become smooth and pull away from the sides of the bowl.
Can I use water instead of milk?
You can, but it won’t be ‘Milk Bread.’ The milk provides fat and sugar (lactose) that tenderize the crumb and contribute to the browning of the crust. Water will result in a leaner, chewier French-bread style loaf.
What is the best flour for Shokupan?
High-protein Bread Flour is the gold standard. Look for a protein content of around 12-13%. Brands like King Arthur Bread Flour work wonderfully.
Can I prepare the dough overnight?
Yes! After the first knead (Step 4), place the dough in a greased bowl, cover tightly, and put it in the fridge overnight. This retards the rise and actually develops more flavor. Let it come to room temperature for 30-60 minutes before shaping the next day.
Why did my bread collapse after baking?
This usually happens if the bread over-proofed (rose too much) before baking, weakening the gluten structure, or if it wasn’t baked long enough to set the structure inside.
Do I really need a kitchen scale?
For consistent results, yes. Flour settles in the bag, so one cup one day might be 120g and 150g the next. Weighing ensures the hydration ratio is perfect every time.
Can I make this in a bread machine?
Yes! You can use the ‘Dough’ setting to do the mixing, kneading, and first rise. Then take it out to shape it and bake it in the oven for that classic shape, or just let the machine do the whole cycle (though the crust might be thicker).
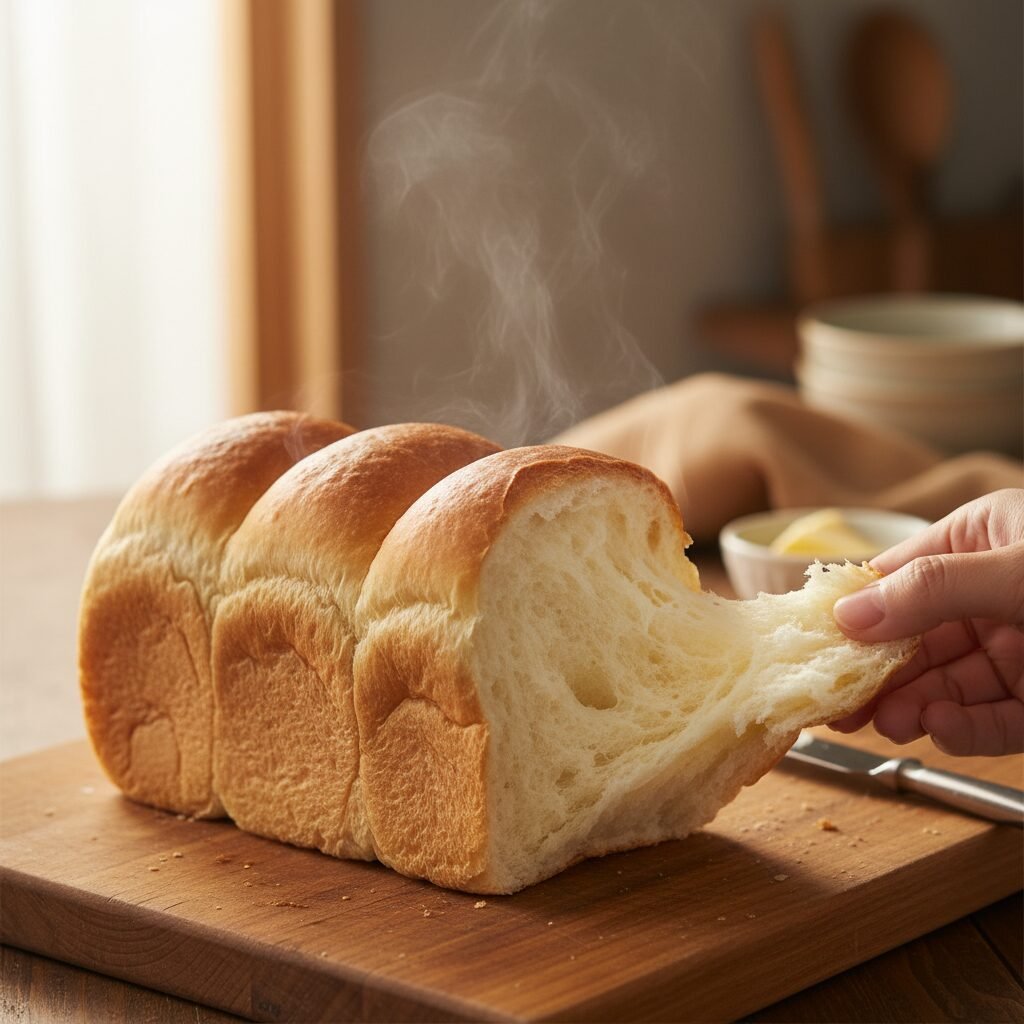
Conclusion
There is truly nothing quite like the satisfaction of pulling a loaf of homemade Japanese Milk Bread out of the oven. The golden crust, the incredible aroma filling your home, and that first tear of the fluffy, steaming interior—it is pure comfort food magic. Whether you are making sandwiches for the kids’ lunchboxes or treating yourself to a decadent Sunday breakfast, this Shokupan recipe is sure to become a family favorite. Don’t be afraid of the sticky dough; embrace the process, and I promise the results are worth every minute. Happy baking, friends!