Long Bread Recipe
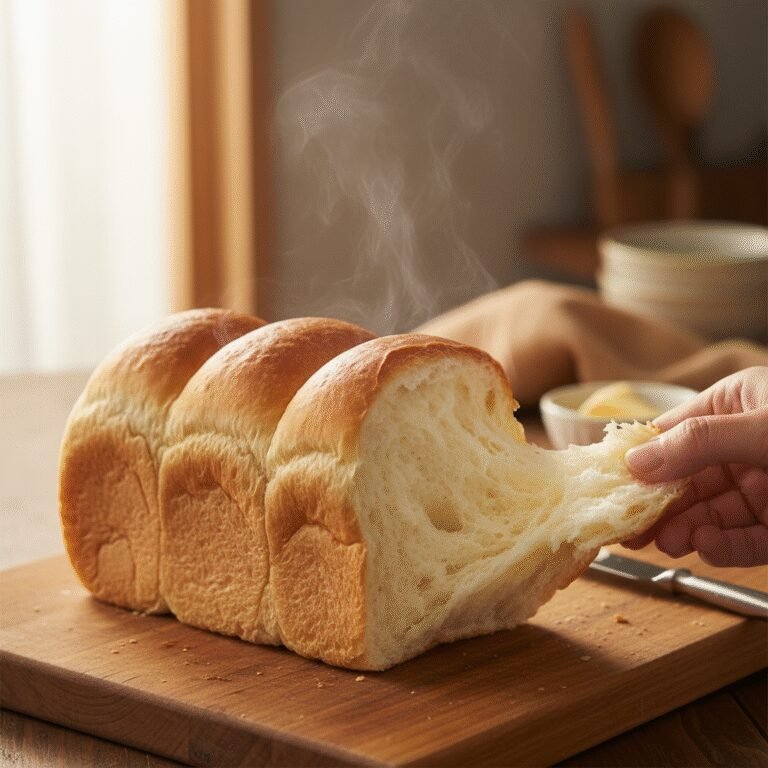
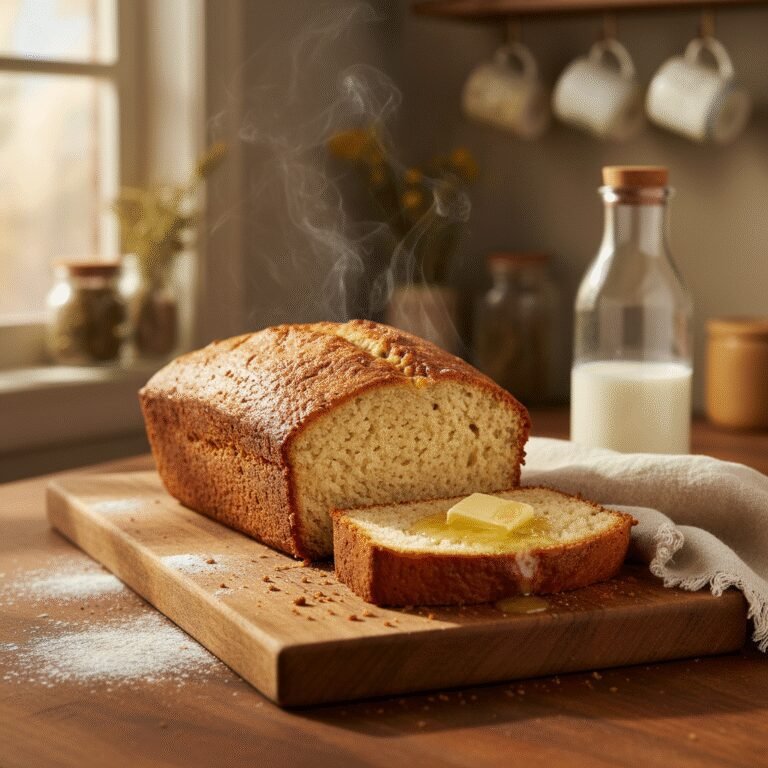
There is truly nothing more satisfying than the crackle of a fresh loaf of bread coming out of your own oven. This rustic long bread recipe is designed for busy moms who want that authentic bakery taste without the intimidation of complex sourdough starters.
20 minutes
25 minutes
2 hours 45 minutes
2 Loaves
Bread
Baking
French / European
Vegan
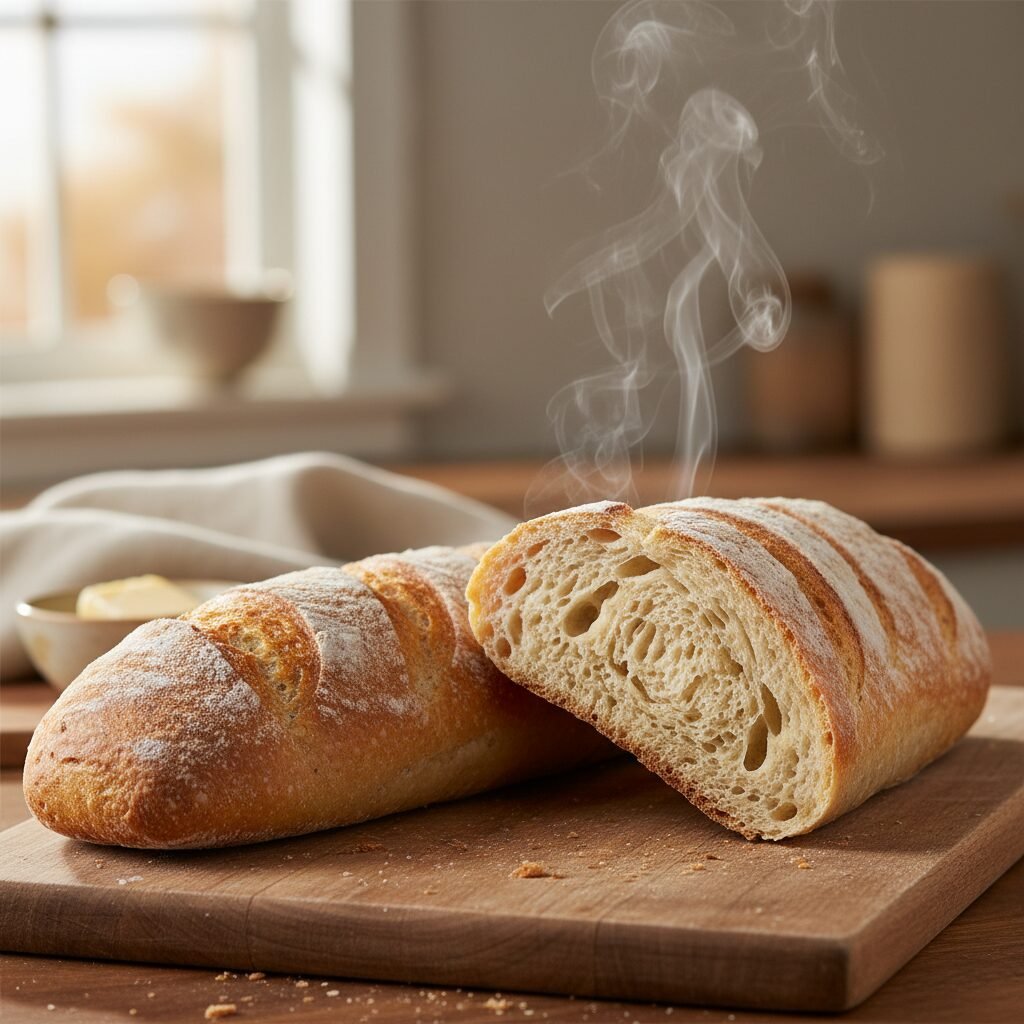
Let’s be honest for a second: is there any scent in the world more comforting than fresh bread baking? It’s the smell of home, of warmth, and of love. For the longest time, I was absolutely terrified of yeast. I thought baking bread was reserved for professional bakers with fancy steam ovens or grandmothers who had been kneading dough since before they could walk. But I am here to tell you that you can do this. This long bread recipe—think of it as a rustic cousin to the baguette—is my absolute go-to when I want to impress guests or just treat the family to something special on a Tuesday night.
This isn’t just about flour and water; it’s about slowing down for a moment. In our crazy, busy lives where we are juggling school drop-offs, work emails, and endless laundry piles, taking twenty minutes to mix and shape dough is surprisingly therapeutic. It’s a tactile experience that grounds you. And the result? A loaf that looks like it came straight from a Parisian boulangerie but cost you pennies to make.
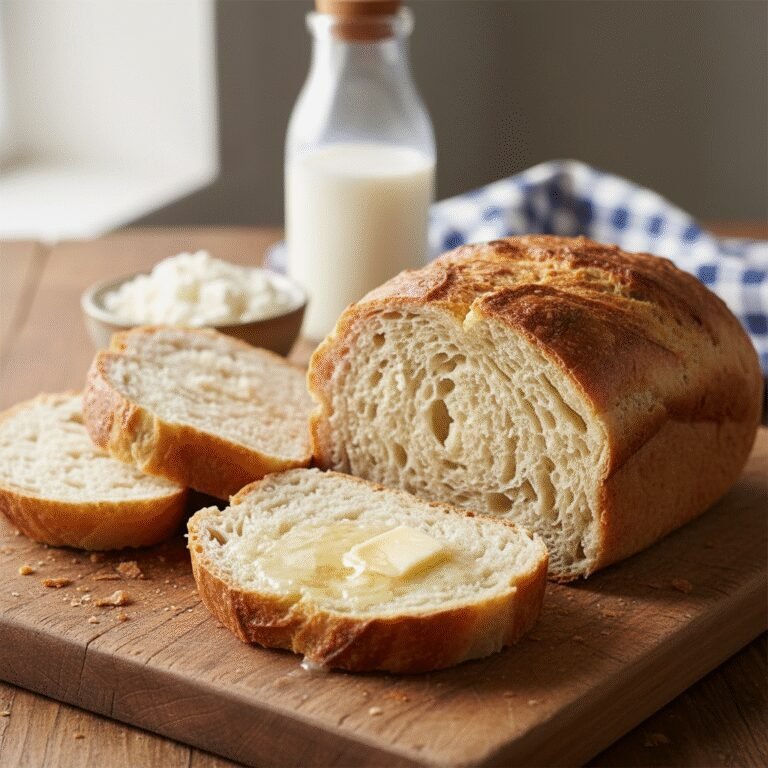
We are making a “Long Loaf,” which is incredibly versatile. It’s sturdy enough to hold meatballs for a sub sandwich, elegant enough to be sliced into crostini for a girls’ night appetizer, and simple enough to just rip apart and slather with salted butter. We are going to achieve that dreamy, crispy crust and that airy, hole-filled crumb using a few simple tricks that work in a standard home oven. So, grab your apron, dust off your counter, and let’s make some magic happen!
History & Origins
The history of “long bread” is as fascinating as it is delicious, and it is most famous in the form of the French Baguette. While our recipe is a slightly more forgiving, rustic version, it shares the same lineage. Did you know that the long shape of bread might have been a result of labor laws? There is a popular theory that in the 1920s, a law was passed in France forbidding bakers from starting work before 4:00 AM. Since traditional round loaves took too long to rise and bake in time for breakfast, bakers started shaping their dough into long, thin logs that exposed more surface area to the heat, allowing them to bake much faster.
Another wonderful legend dates back to Napoleon Bonaparte. It is said that he requested bread be made in long sticks so that his soldiers could easily slide a loaf down the leg of their trousers to carry it on campaigns! Can you imagine marching into battle with a baguette in your pants? Whether that is true or just a fun story, the long loaf became a symbol of French culture.
However, long loaves aren’t exclusive to France. In Italy, you have the Filone, a similar yeasted bread that is often a bit thicker and more rustic. In Cuban cuisine, the long loaf is essential for the famous Cubano sandwich. Across cultures, the elongation of the loaf serves a distinct purpose: it maximizes the ratio of crust to crumb. If you are a crust lover (and who isn’t?), the long bread is the superior shape because every slice has that perfect crunchy rim.
Why This Recipe Works
If you have ever baked bread that turned out like a dense brick, you might be wondering why this recipe is different. The secret lies in hydration and steam. This dough is formulated to be slightly wetter than your standard sandwich bread dough. That extra moisture turns into steam inside the dough when it hits the hot oven, creating those beautiful air pockets (bakers call this the “crumb structure”) that make the bread light and airy.
Secondly, we are going to hack your home oven to mimic a professional deck oven. Commercial ovens inject bursts of steam to keep the crust soft for the first few minutes of baking. This allows the bread to expand fully (a process called “oven spring”) before the crust hardens. To do this at home, we place a pan of hot water on the bottom rack. This steam environment gelatinizes the starches on the surface of the loaf, which eventually dry out to form that glossy, crackling crust we all crave.
Finally, the high baking temperature is non-negotiable. We blast the bread at a high heat to ensure the yeast gives one final push of energy and to caramelize the sugars in the flour, giving the bread its deep golden-brown color and rich, toasted flavor.
Why You’ll Love This Recipe
- ✓Requires only 4 basic pantry ingredients
- ✓No bread machine or stand mixer required
- ✓Produces a professional-style crispy crust
- ✓Freezer-friendly for meal prep
- ✓Perfect for beginners with no sourdough starter needed
- ✓Versatile shape for sandwiches or garlic bread
Equipment You’ll Need
- ✓Large mixing bowl
- ✓Baking sheet or Pizza Stone
- ✓Parchment paper
- ✓Sharp knife or Bread Lame (razor)
- ✓Clean kitchen towel
- ✓Small metal pan (for water/steam)
- ✓Whisk
- ✓Measuring cups and spoons
Ingredients
- ✓4 cups Bread Flour (All-purpose works too, but bread flour is chewier)
- ✓1 ½ cups Warm Water (approx. 110°F/45°C – think bath water temp)
- ✓2 ¼ tsp Active Dry Yeast (1 standard packet)
- ✓2 tsp Salt (Kosher or Sea salt is best)
- ✓1 tsp Sugar or Honey (optional, helps wake up the yeast)
- ✓Cornmeal (for dusting the pan, optional)
Instructions
- Activate the Yeast: In a small bowl or measuring cup, combine the warm water and sugar. Sprinkle the yeast over the top and stir gently. Let it sit for about 5-10 minutes until it becomes frothy and creamy. This proves your yeast is alive and ready to party!
- Mix the Dough: In your large mixing bowl, combine the flour and salt. Pour in the frothy yeast mixture. Use a sturdy wooden spoon or your hands to mix until a shaggy dough forms. It will look messy, but that is normal.
- Knead the Dough: Turn the dough out onto a lightly floured surface. Knead for about 8-10 minutes. You want to push the dough away with the heel of your hand and fold it back over. The dough should transform from sticky and shaggy to smooth and elastic. If you poke it, it should spring back slightly.
- First Rise: Lightly grease your mixing bowl with a little oil or cooking spray. Place the dough ball inside, turning it once to coat it in oil. Cover with a damp kitchen towel or plastic wrap. Place in a warm, draft-free spot (like inside your microwave with the door closed) for 1 to 1.5 hours, or until doubled in size.
- Shape the Loaves: Punch the dough down gently to release air bubbles. Divide the dough into two equal halves. Take one half and flatten it slightly into a rectangle. Fold the top third down to the center, and the bottom third up (like a letter). Then, fold it in half lengthwise and pinch the seam shut tightly. Roll it gently under your palms to elongate it into a 12-14 inch log. Repeat with the second piece.
- Second Rise: Place the shaped loaves on a parchment-lined baking sheet (dusted with cornmeal if you have it). Cover loosely with the towel and let rise for another 30-45 minutes. They should look puffy.
- Preheat and Steam Prep: While the loaves rise, preheat your oven to 450°F (230°C). Place an empty metal pan (like a roasting pan or old cake pan) on the bottom rack of the oven to heat up.
- Score the Bread: Just before baking, use a very sharp knife or a razor blade to make 3 or 4 diagonal slashes across the top of each loaf. This isn’t just for looks; it helps the bread expand without tearing.
- Bake with Steam: Slide the baking sheet onto the middle rack. IMMEDIATELY pour 1 cup of hot water into the hot pan on the bottom rack and quickly close the oven door to trap the steam. Be careful not to burn yourself with the steam!
- The Bake: Bake for 20-25 minutes. The bread should be deep golden brown and sound hollow when you tap the bottom. Cool on a wire rack for at least 20 minutes before slicing.
Expert Cooking Tips
- ✓Don’t slice it hot! I know it is tempting, but slicing hot bread releases the steam inside, making the crumb gummy. Let it finish cooking on the counter while it cools.
- ✓Flour matters: While All-Purpose flour works, Bread Flour has higher protein content, which creates more gluten. This gives you that chewy, authentic texture.
- ✓The Poke Test: To verify if your dough has risen enough, poke it gently with a floured finger. If the indentation springs back slowly, it is ready. If it springs back immediately, it needs more time.
- ✓Humidity affects flour: If it is a humid day, you might need an extra tablespoon of flour. If it is dry, you might need a splash more water. Trust your hands!
Substitutions and Variations
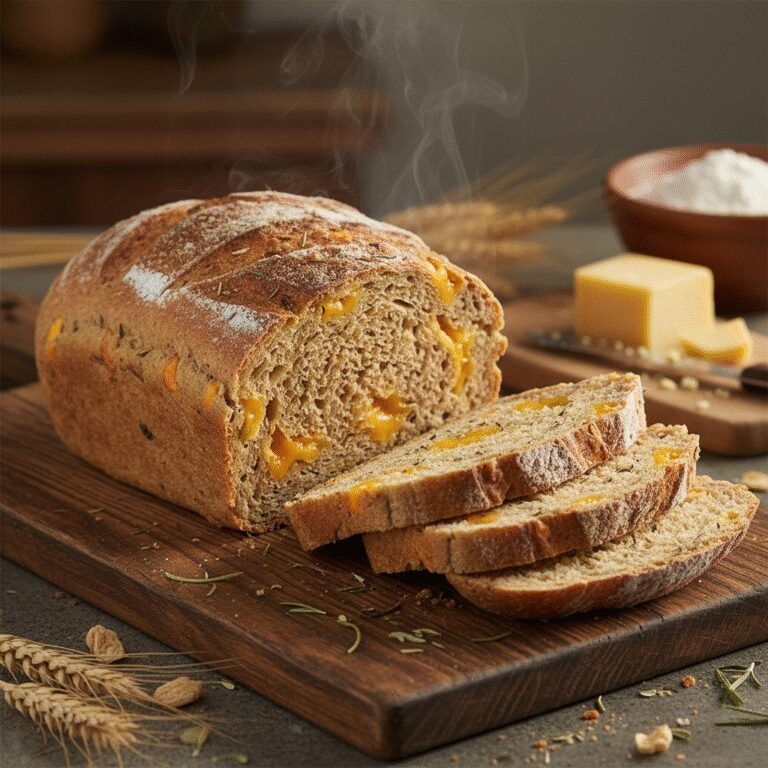
Baking is a science, but there is room for creativity here. If you want a healthier twist, you can substitute up to 50% of the white flour with Whole Wheat Flour. Just note that the bread will be denser and might need a little more water. If you are avoiding refined sugar, honey or maple syrup works perfectly to feed the yeast. For a savory kick, try mixing roasted garlic cloves or chopped rosemary into the dough during the kneading stage. If you don’t have active dry yeast, you can use Instant Yeast—just skip the activation step and mix it directly into the flour, adding the water immediately after.
Common Mistakes to Avoid
The most common mistake people make is killing the yeast with water that is too hot. If the water burns your wrist, it will burn the yeast. Aim for lukewarm. Another pitfall is over-flouring during kneading. It is natural to want to add flour when the dough sticks to your hands, but adding too much creates a dry, heavy loaf. Try to use wet hands or a dough scraper instead of piling on more flour. Lastly, forgetting the steam. Without that pan of water in the oven, your crust will form too quickly and limit the bread’s ability to rise, resulting in a smaller, denser loaf.
Serving Suggestions
This long bread is a blank canvas for deliciousness. Slice it diagonally, brush with olive oil and rub with a garlic clove for instant bruschetta base. It is the perfect vessel for a classic French Dip sandwich or a homemade Bahn Mi. For a cozy dinner, serve thick slices alongside a hearty Beef Stew or Potato Leek Soup for dipping. And honestly? My kids’ favorite way to eat this is toasted with a generous layer of strawberry jam or cinnamon sugar for breakfast.
Storage and Reheating Tips
Fresh homemade bread doesn’t have the preservatives that store-bought bread does, so it goes stale faster. Store it at room temperature in a paper bag or a bread box for up to 2 days; plastic bags will soften that beautiful crust you worked so hard for. If you want to keep it longer, freeze it! Slice the loaf entirely, place the slices in a freezer-safe Ziploc bag, and freeze for up to 3 months. You can pop a slice directly into the toaster from frozen—it tastes just as fresh as day one!
Nutrition Facts (Estimated)
| Serving Size | 1 slice (approx 50g) |
| Calories | 110 |
| Fat | 0.5g |
| Saturated Fat | 0g |
| Unsaturated Fat | 0.2g |
| Trans Fat | 0g |
| Cholesterol | 0mg |
| Sodium | 180mg |
| Carbohydrates | 22g |
| Fiber | 1g |
| Sugar | 0.5g |
| Protein | 4g |
Frequently Asked Questions
Why is my bread dense and heavy?
This usually happens if the yeast was dead (old or killed by hot water) or if the dough didn’t rise long enough. Make sure your kitchen is warm enough for the yeast to do its work.
Can I make the dough ahead of time?
Yes! You can let the dough do its first rise in the refrigerator overnight (8-12 hours). This actually develops more flavor. Just let it come to room temperature for 30 minutes before shaping.
Do I really need a pizza stone?
No, a regular baking sheet works just fine. However, a pizza stone retains heat better and can help give you a crispier bottom crust.
Why did my bread split on the side?
This is called a ‘blowout.’ It usually means you didn’t score the top deep enough, or the crust formed too fast (lack of steam). The bread needs a designated place to expand.
Can I use gluten-free flour?
You can, but you need a 1:1 gluten-free baking blend that includes xanthan gum. The texture will be different, as gluten is what provides the stretch and chew.
What if I don’t have a razor blade for scoring?
Use your sharpest serrated bread knife or a very sharp paring knife. You can also use clean kitchen scissors to snip a pattern along the top.
How do I get a really thick crust?
Leave the bread in the oven for 5 minutes after you turn the heat off, with the door cracked open slightly. This dries out the surface further.
Is this recipe vegan?
Yes! The basic recipe uses only flour, water, salt, and yeast, making it 100% vegan.
Conclusion
Making your own long bread at home is one of those skills that feels like a superpower. There is a specific kind of pride that comes from breaking bread that you made with your own two hands. It connects us to tradition, nourishes our families, and fills our homes with the best smell on earth. Don’t be discouraged if your first loaf isn’t picture-perfect; even ‘ugly’ homemade bread tastes better than anything wrapped in plastic from the store. So go ahead, get messy with some flour, and enjoy the process. Happy baking!