Gluten Free Sugar Cookie Recipe
Say goodbye to dry, crumbly gluten-free baking disasters. These soft, buttery sugar cookies hold their shape perfectly and taste just like the classic bakery style treats you remember, but without the wheat!
15 mins
10 mins
1 hr 25 mins
24 cookies
Dessert
Baking
American
Gluten Free
Let’s be honest, finding a gluten-free sugar cookie recipe that doesn’t taste like cardboard or crumble into sand the moment you look at it can be a total nightmare. As a mom, I want my kitchen to be filled with the sweet smell of vanilla and the sound of giggles while we decorate, not the frustration of dough that cracks and breaks. That is exactly why I developed this recipe. It is a total game-changer for holiday baking, birthday parties, or just those random Tuesday afternoons when you need a sweet treat.
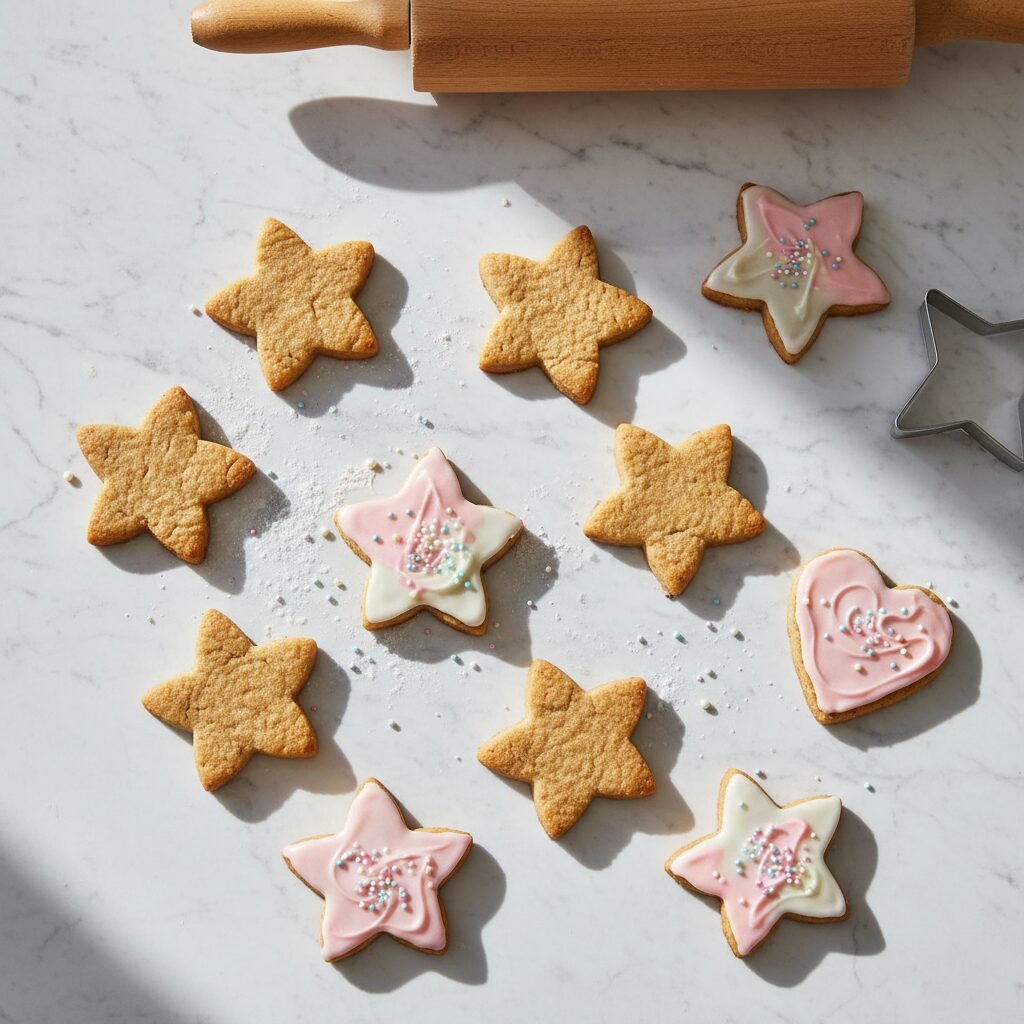
These cookies are everything a sugar cookie should be: soft in the center, slightly crisp on the edges, and buttery rich. The best part? They hold their shape beautifully. Whether you are using simple circles or intricate snowflakes, your cookies will come out of the oven looking exactly like the cutter you used. No spreading into unrecognizable blobs here! We are talking about bakery-quality cookies that just happen to be gluten-free. Grab your rolling pin and let’s get baking!
History & Origins
The humble sugar cookie has a surprisingly deep history. While we associate them with modern holiday traditions, their ancestors can be traced back to the mid-1700s in Nazareth, Pennsylvania. German Protestant settlers created a round, crumbly, buttery cookie known as the Nazareth Sugar Cookie. Over the centuries, this evolved into the sturdy, roll-out dough we know and love today.
The transition to gluten-free versions is a much more modern culinary adventure. For years, gluten-free baking relied on heavy, dense flours like bean flour, resulting in cookies that were less than appetizing. With the invention of high-quality 1:1 gluten-free flour blends that utilize rice flour and starches, we can now recreate that historic, buttery texture without the wheat protein that causes so many of us trouble.
Why This Recipe Works
The science behind this recipe relies heavily on the balance of moisture and structure. In traditional baking, gluten provides the elasticity that holds a cookie together. Since we are removing that, we need a replacement. This recipe uses a high-quality 1:1 Gluten-Free Flour Blend that contains xanthan gum. The xanthan gum mimics the structure of gluten, preventing the dreaded crumble.
Additionally, we use a higher ratio of butter and sugar to flour compared to some bread recipes. Creaming the butter and sugar introduces air, while the egg provides the necessary protein structure. We also skip the baking soda and use a small amount of baking powder; this ensures the cookies rise just a tiny bit to be soft, but not enough to spread and lose their shape. Chilling the dough is the final secret weapon—it solidifies the fat, ensuring the cookie sets in the oven before it has a chance to melt outward.
Why You’ll Love This Recipe
- ✓Holds shape perfectly for intricate cookie cutters
- ✓Soft, chewy texture with no grit
- ✓Dough is easy to handle and doesn’t crack
- ✓Freezes beautifully for make-ahead holiday prep
- ✓Kid-friendly and fun to decorate
Equipment You’ll Need
- ✓Stand mixer or electric hand mixer
- ✓Baking sheets
- ✓Parchment paper or silicone baking mats
- ✓Rolling pin
- ✓Cookie cutters
- ✓Wire cooling rack
Ingredients
- ✓2 1/4 cups Gluten-Free All-Purpose Flour (must contain xanthan gum)
- ✓1/2 teaspoon baking powder
- ✓1/4 teaspoon salt
- ✓3/4 cup unsalted butter, softened to room temperature
- ✓3/4 cup granulated white sugar
- ✓1 large egg, room temperature
- ✓2 teaspoons pure vanilla extract
- ✓1/4 teaspoon almond extract (optional, but highly recommended for that bakery taste)
Instructions
- Whisk Dry Ingredients: In a medium bowl, whisk together the gluten-free flour, baking powder, and salt. Set this aside.
- Cream Butter and Sugar: In the bowl of a stand mixer fitted with the paddle attachment (or a large bowl with a hand mixer), beat the softened butter and granulated sugar together on medium-high speed for about 2-3 minutes. You want it light and fluffy.
- Add Wet Ingredients: Add the egg, vanilla extract, and almond extract. Beat on medium speed until fully combined, scraping down the sides of the bowl as needed.
- Combine: Turn the mixer to low speed. Gradually add the dry flour mixture to the wet ingredients. Mix just until the dough comes together and pulls away from the sides of the bowl. Do not overmix, or the dough might become tough.
- Chill the Dough: Divide the dough into two equal balls. Flatten each ball into a disk and wrap tightly in plastic wrap. Refrigerate for at least 1 hour (up to 2 days). This step is non-negotiable for cut-out cookies!
- Prep for Baking: Preheat your oven to 350°F (175°C). Line two large baking sheets with parchment paper or silicone mats.
- Roll and Cut: Remove one disk of dough from the fridge. Lightly dust your surface with gluten-free flour. Roll the dough out to about 1/4-inch thickness. Use your favorite cookie cutters to cut shapes. If the dough gets too soft, pop it back in the fridge for 10 minutes.
- Bake: Place cookies on the prepared baking sheets, spacing them about 2 inches apart. Bake for 8-10 minutes. They should look set and matte on top, but barely browned on the edges. Do not overbake if you want them soft!
- Cool: Let the cookies cool on the baking sheet for 5 minutes (they are fragile when hot). Transfer them to a wire rack to cool completely before decorating.
Expert Cooking Tips
- ✓Measure Flour Correctly: Use a kitchen scale if possible, or the ‘spoon and level’ method. Scooping directly with the cup packs the flour and leads to dry cookies.
- ✓Room Temperature Ingredients: Ensure your butter and egg are at room temperature so they emulsify properly. Cold butter won’t cream well.
- ✓Don’t Skip Chilling: Gluten-free flour needs time to hydrate, and the butter needs to solidify so the cookies don’t spread into puddles.
- ✓Roll Thick: For softer cookies, roll them to 1/4 inch or even slightly thicker. Thin cookies will be crispy.
Substitutions and Variations
If you need to make these Dairy-Free, simply swap the butter for a high-quality vegan butter stick (not tub margarine). Brands like Miyoko’s or Earth Balance sticks work well. If you are allergic to nuts, omit the almond extract and just increase the vanilla extract slightly. If your flour blend does not contain xanthan gum, you will need to add 1 teaspoon of xanthan gum to the dry ingredients.
Common Mistakes to Avoid
The biggest mistake people make is overworking the dough. Even though there is no gluten to toughen, overworking can melt the butter with the heat of your hands, leading to greasy cookies. Another common issue is using the wrong flour blend. Ensure you are using a ‘measure-for-measure’ blend intended for baking, not just plain rice flour or almond flour. Finally, putting dough on a hot baking sheet is a disaster waiting to happen; always let your pans cool between batches.
Serving Suggestions
These cookies are a blank canvas! They are delicious plain with a cup of coffee or tea. However, they shine when decorated. Use a simple Royal Icing for a smooth, hard finish that is perfect for stacking and gifting. Alternatively, a fluffy Buttercream Frosting with sprinkles makes for a nostalgic, soft bite that kids absolutely adore. Serve them on a festive platter for holiday parties or wrap them in cellophane bags for school treats.
Storage and Reheating Tips
Store baked and decorated cookies in an airtight container at room temperature for up to 5 days. To keep them soft, you can place a slice of gluten-free bread in the container with them (it regulates moisture!). You can also freeze the baked, undecorated cookies for up to 3 months. Just thaw on the counter before icing. The raw dough disks can also be frozen for up to 2 months wrapped tightly in plastic and foil.
Nutrition Facts (Estimated)
| Serving Size | 1 cookie |
| Calories | 145 |
| Fat | 7g |
| Saturated Fat | 4g |
| Unsaturated Fat | 2g |
| Trans Fat | 0g |
| Cholesterol | 25mg |
| Sodium | 45mg |
| Carbohydrates | 19g |
| Fiber | 1g |
| Sugar | 8g |
| Protein | 2g |
Frequently Asked Questions
Why did my gluten-free cookies spread?
Spreading usually happens because the dough wasn’t chilled long enough or the butter was too warm when you started. Make sure your dough is cold when it goes into the oven.
Can I make this dough ahead of time?
Absolutely! You can keep the dough disks in the refrigerator for up to 2 days before rolling and baking. If it’s too hard to roll, let it sit on the counter for 5-10 minutes.
Which gluten-free flour brand is best?
I highly recommend King Arthur Measure for Measure or Bob’s Red Mill 1-to-1 Baking Flour. Both yield consistent results for cookies.
Can I roll the dough out again after cutting?
Yes, you can re-roll the scraps. However, try to limit this to 2-3 times as the dough can become slightly tougher or drier with too much handling and extra flour.
How do I know when they are done?
They are done when the centers look matte (not shiny/wet) and the edges are just barely starting to turn golden. They will continue to firm up as they cool.
Can I use almond flour instead?
No, this recipe is designed for a gluten-free all-purpose blend. Almond flour behaves very differently and requires different ratios of fat and liquid.
Do I need xanthan gum?
Yes, xanthan gum is crucial for binding the ingredients together since there is no gluten. Check your flour blend ingredients; if it’s not listed, add 1 teaspoon separately.
Can I use this recipe for drop cookies?
Technically yes, but this is a roll-out dough. For drop cookies, you might want a recipe with a bit less flour or more butter for a better spread.
Conclusion
There you have it—the ultimate guide to making Gluten-Free Sugar Cookies that actually taste good! I hope this recipe restores your faith in holiday baking and brings a little extra joy to your kitchen. No one should have to miss out on the fun of cutting out stars and hearts just because of dietary restrictions. Whip up a batch, get the kids involved with the sprinkles, and enjoy every single crumb. Happy baking!