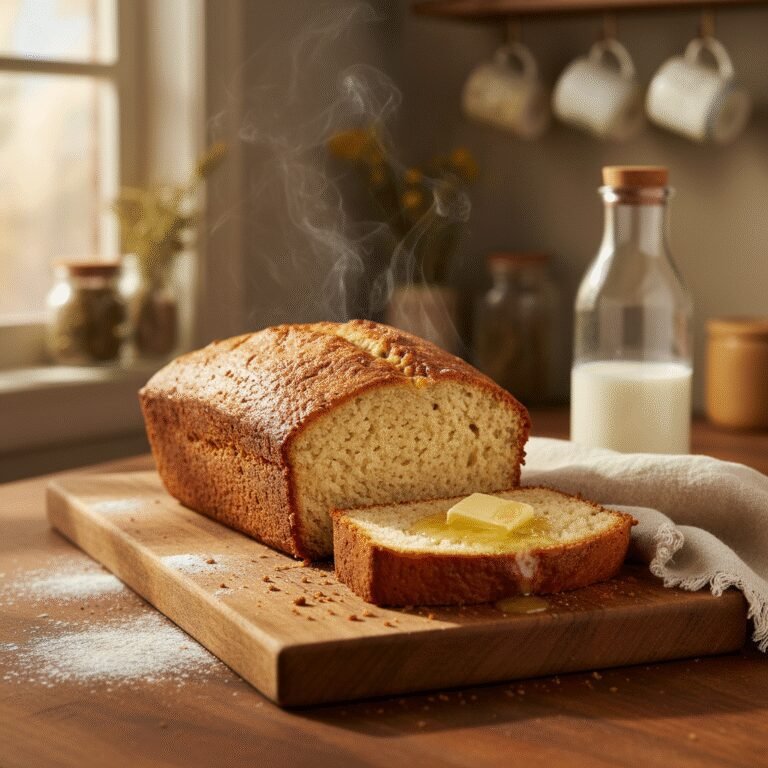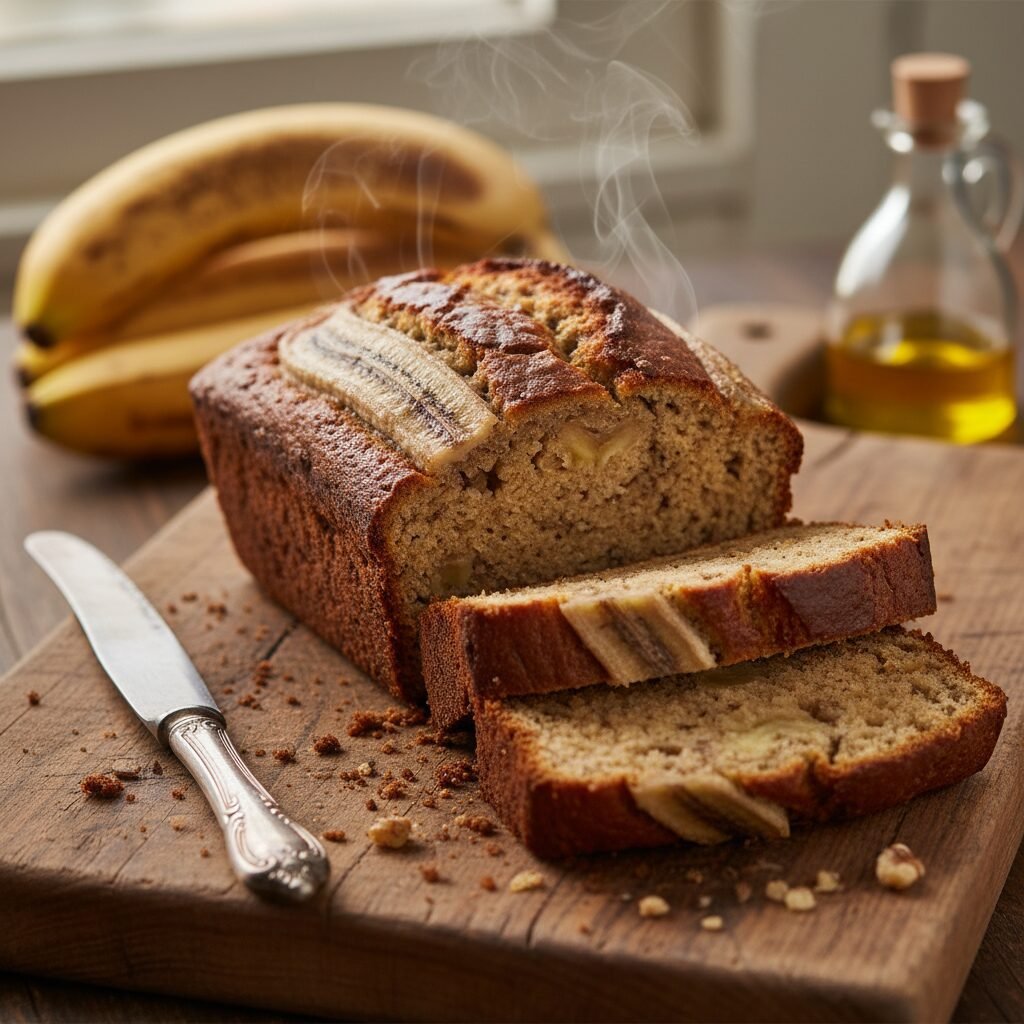
Banana Bread Recipe Without Butter
Ran out of butter but have a counter full of over-ripe bananas? Don’t panic! This oil-based banana bread is actually superior to the classic version, offering an incredibly moist crumb and a lighter texture that your family will devour in minutes.
15 minutes
55 minutes
1 hour 10 minutes
1 Loaf (10-12 Slices)
Breakfast / Snack
Baking
American
Vegetarian
Let’s be real for a second, friends. Is there anything more universally relatable in a kitchen than a bunch of bananas slowly turning brown on the counter, staring at you with judgement? We buy them with the best intentions of healthy snacking, but somehow, life gets in the way, and suddenly they look like they belong in a science experiment rather than a fruit bowl. But here is the good news: those spotty, mushy, brown bananas are actually liquid gold in the baking world.
For years, I thought butter was the non-negotiable holy grail of baking. I mean, butter makes everything better, right? But one fateful afternoon, amidst a craving for comfort food and a fridge completely void of butter sticks, I decided to experiment with oil instead. The result? A total game-changer. I am not exaggerating when I say this might be the best banana bread I have ever made.
This Banana Bread Recipe Without Butter is specifically designed for the busy mom who needs a win. It is a one-bowl wonder (less dishes, yes please!), it requires zero mixer setup, and the texture is out of this world. Because we are using oil instead of butter, the loaf stays incredibly moist for days longer than its buttery counterpart. Whether you serve it warm for breakfast, pack it in school lunches, or hide in the pantry to eat a slice in silence (no judgment here!), this recipe is about to become your new family staple.
History & Origins
Banana bread is such a staple in American households that it feels like it has been around since the dawn of time, but it is actually a relatively modern invention. The rise of banana bread can be traced back to two major historical factors: the popularization of baking soda and baking powder in the 1930s, and the Great Depression.
During the Great Depression, wasting food was absolutely not an option. Resourceful home cooks needed a way to use up over-ripe bananas that were no longer appetizing to eat raw. Simultaneously, corporate kitchens (like those at flour and baking soda companies) began publishing recipes to promote their products. The earliest known recipe for banana bread appeared in a 1933 pillbury cookbook, and it took off like wildfire.
Interestingly, the shift from butter to oil in quick breads has roots in both wartime rationing—when butter was scarce—and the mid-century shift towards vegetable oils as a “modern” convenience. Today, while butter is readily available, many professional bakers prefer oil for quick breads (like pumpkin bread, zucchini bread, and banana bread) because of the superior texture it provides. It is a beautiful example of how a recipe born out of necessity and frugality evolved into a beloved comfort food classic.
Why This Recipe Works
You might be wondering, “Can banana bread really be better without butter?” The answer lies in the science of baking fats. Butter is delicious, of course, but it is roughly 80% fat and 20% water. At room temperature, butter is a solid. This means that when a butter-based cake or bread cools down, the fat solidifies, which can sometimes lead to a denser, drier crumb after a day or two.
Oil, on the other hand, is 100% fat and remains liquid at room temperature. When you use oil in this Banana Bread Recipe Without Butter, that liquid state translates to a loaf that feels moister on the palate and stays soft for much longer. Oil also coats the flour proteins (gluten) more effectively than butter, preventing them from bonding too strongly. This results in a “short” or tender crumb rather than a tough or chewy one.
Furthermore, because bananas are naturally heavy and dense fruit, they need a lifting agent that won’t weigh them down. The combination of oil and the acidity from the brown sugar reacts beautifully with the baking soda to create a nice rise. We also use a mix of white and brown sugar here; the white sugar helps create a slightly crisp crust, while the brown sugar adds moisture and a deep, caramel-like molasses flavor that pairs perfectly with the vanilla and bananas.
Why You’ll Love This Recipe
- ✓Stays moist for 4-5 days due to oil content
- ✓Dairy-free friendly (if chocolate chips aren’t added)
- ✓No electric mixer required—just a whisk and fork
- ✓Perfect way to use up heavily spotted bananas
- ✓Freeze-friendly for easy meal prep
- ✓Soft, tender crumb that doesn’t crumble apart
Equipment You’ll Need
- ✓9×5 inch Loaf Pan
- ✓Large Mixing Bowl
- ✓Medium Mixing Bowl
- ✓Whisk
- ✓Fork or Potato Masher
- ✓Rubber Spatula
- ✓Wire Cooling Rack
Ingredients
- ✓3 large ripe bananas (heavily spotted or brown)
- ✓1/2 cup vegetable oil (or canola/grapeseed oil)
- ✓1/2 cup granulated white sugar
- ✓1/2 cup packed light brown sugar
- ✓2 large eggs, room temperature
- ✓1 teaspoon pure vanilla extract
- ✓1 1/2 cups all-purpose flour
- ✓1 teaspoon baking soda
- ✓1/2 teaspoon salt
- ✓1/2 teaspoon ground cinnamon (optional but recommended)
- ✓1/2 cup walnuts or chocolate chips (optional add-ins)
Instructions
- Preheat your oven to 350°F (175°C). Grease a 9×5-inch loaf pan with non-stick spray or line it with parchment paper for easy removal.
- In a large mixing bowl, peel the ripe bananas. Using a fork or a potato masher, mash them thoroughly until they are liquidy with just a few small lumps remaining. You should have about 1 to 1.25 cups of mashed banana.
- Add the vegetable oil, granulated sugar, brown sugar, eggs, and vanilla extract to the mashed bananas. Whisk vigorously until everything is combined and the mixture is smooth.
- In a separate medium bowl, whisk together the flour, baking soda, salt, and cinnamon. This ensures the leavening agents are evenly distributed.
- Pour the dry ingredients into the wet ingredients. Switch to a rubber spatula and gently fold the mixture together. Stop mixing as soon as the flour streaks disappear. Do not overmix, or the bread will be tough.
- If you are using walnuts or chocolate chips, gently fold them in now.
- Pour the batter into the prepared loaf pan and smooth the top with your spatula.
- Bake for 50 to 60 minutes. Check the bread at the 50-minute mark. Insert a toothpick or cake tester into the center; if it comes out clean or with just a few moist crumbs, it is done. If the top is browning too quickly but the center is raw, tent the pan loosely with aluminum foil.
- Remove from the oven and let the bread cool in the pan for about 10 minutes. Then, lift it out and transfer it to a wire cooling rack to cool completely before slicing.
Expert Cooking Tips
- ✓The darker the banana, the better: You want bananas that are more brown than yellow. The spots indicate sugar conversion, which gives the bread its sweetness and moisture.
- ✓Room temperature eggs: If you have time, let your eggs sit out for 30 minutes. Room temp ingredients emulsify better with the oil, creating a more uniform texture.
- ✓Don’t overmix: This is the golden rule of quick breads. Once the wet and dry ingredients meet, mix gently. Overworking the gluten results in a rubbery loaf.
- ✓Check your baking soda: Since this recipe relies on baking soda for the rise, make sure it hasn’t expired. It should sizzle if you drop a bit in vinegar.
- ✓Let it cool: I know it smells amazing, but slicing hot banana bread can cause it to crumble and release steam, which dries it out. Wait at least 30 minutes!
Substitutions and Variations
This recipe is wonderfully flexible. Here are a few swaps you can make based on what is in your pantry:
- Oil: You can use melted coconut oil for a tropical twist, or even a light olive oil if you enjoy a more savory note. Applesauce can replace half the oil if you want to cut calories, though the texture will be slightly denser.
- Sugar: You can use all white sugar or all brown sugar if you don’t have both. Honey or maple syrup can be used, but reduce the amount to 3/4 cup and slightly increase the flour by a tablespoon.
- Flour: For a healthier twist, you can swap half the all-purpose flour for whole wheat flour. For a gluten-free version, use a high-quality 1:1 gluten-free baking flour blend.
- Egg-Free: To make this vegan, use flax eggs (2 tbsp ground flaxseed meal + 6 tbsp water, let sit for 5 mins) in place of regular eggs.
Common Mistakes to Avoid
The most common mistake people make is measuring flour incorrectly. If you scoop the measuring cup directly into the flour bag, you pack the flour down and can end up with 20% more than needed, leading to dry bread. Instead, use the “spoon and level” method: spoon flour into the cup and level it off with a knife.
Another mistake is underbaking. Oil-based cakes can be tricky because the top looks done while the middle is jiggly. Trust the toothpick test! If there is wet batter on the toothpick, it needs more time. Don’t be afraid to cover it with foil and keep baking.
Serving Suggestions
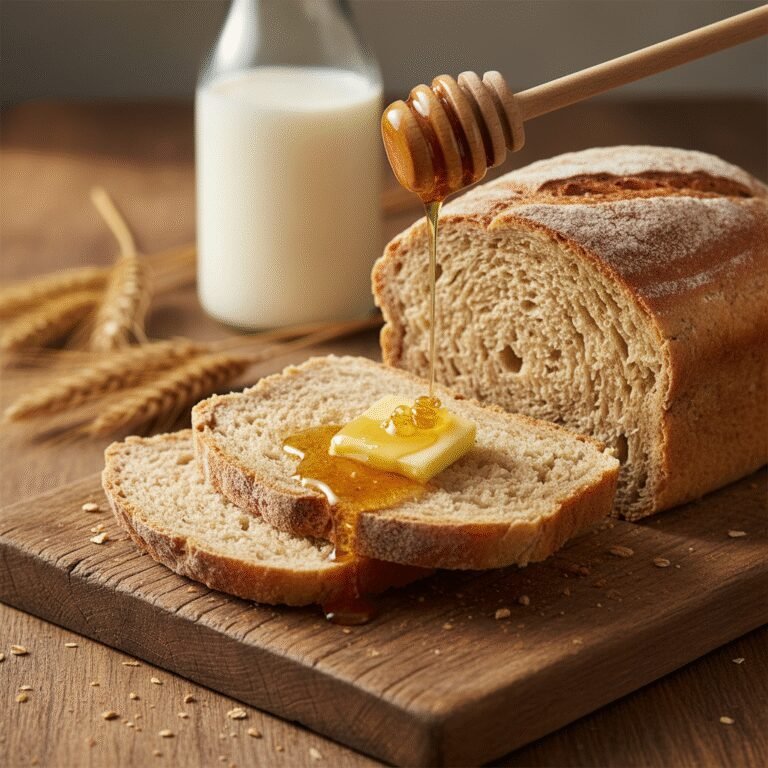
This banana bread is divine on its own, but you can elevate it! Try serving a warm slice with a dollop of Greek yogurt and a drizzle of honey for a balanced breakfast. For an indulgent treat, toast a slice and spread peanut butter or almond butter on top—the salty-sweet combo is addictive. It also pairs beautifully with a hot cup of coffee or a cold glass of milk for the kids.
Storage and Reheating Tips
Because this recipe uses oil, it has excellent shelf life. Store the cooled loaf in an airtight container or wrapped tightly in plastic wrap at room temperature for up to 4 days. In fact, many people find it tastes even better on day two as the flavors meld!
Freezing: This bread freezes beautifully. You can freeze the whole loaf or individual slices. Wrap tightly in plastic wrap and then foil. It will keep in the freezer for up to 3 months. Thaw on the counter for a few hours before eating.
Nutrition Facts (Estimated)
| Serving Size | 1 Slice |
| Calories | 265 |
| Fat | 11g |
| Saturated Fat | 1.5g |
| Unsaturated Fat | 9g |
| Trans Fat | 0g |
| Cholesterol | 35mg |
| Sodium | 210mg |
| Carbohydrates | 38g |
| Fiber | 2g |
| Sugar | 18g |
| Protein | 4g |
Frequently Asked Questions
Can I use olive oil instead of vegetable oil?
Yes! However, olive oil has a distinct flavor. Use a ‘light’ or ‘mild’ olive oil to avoid a savory aftertaste, unless you enjoy that complexity with the sweetness of the bananas.
Why did my banana bread sink in the middle?
This usually happens if the bread is underbaked. The structure hasn’t set yet when you pull it out. It can also happen if you used too much leavening (baking soda) or overmixed the batter.
Can I reduce the sugar in this recipe?
Yes, you can reduce the total sugar to about 3/4 cup without ruining the texture. The bananas provide a lot of natural sweetness. Any lower than that, and you might affect the moisture level.
My bananas aren’t ripe enough. Can I still bake?
You can ripen them quickly in the oven! Place unpeeled bananas on a baking sheet at 300°F for about 15-20 minutes until the skins are black and the fruit is soft.
Can I turn this recipe into muffins?
Absolutely. Pour the batter into a standard 12-cup muffin tin lined with papers. Bake at 350°F for 18-22 minutes.
Is this recipe dairy-free?
Yes! As written, there is no butter or milk in this recipe, making it completely dairy-free (assuming you don’t add milk chocolate chips).
Why is my bread gummy at the bottom?
This is often caused by the loaf cooling in the pan for too long. The steam gets trapped and turns into condensation, making the bottom soggy. Remove it from the pan after 10 minutes.
Can I add fresh fruit like blueberries?
Yes, but toss the berries in a teaspoon of flour before folding them in. This prevents them from sinking to the bottom of the loaf.
Conclusion
There you have it—the absolute best way to save those neglected bananas and turn them into something spectacular. This Banana Bread Recipe Without Butter proves that you don’t need dairy to create a rich, decadent, and comforting treat. It is simple enough for a Tuesday night baking session but delicious enough for a Sunday brunch spread.
I hope this recipe brings a little warmth and sweetness to your kitchen. Once you try the oil method, you might never go back to butter again! Happy baking, friends!