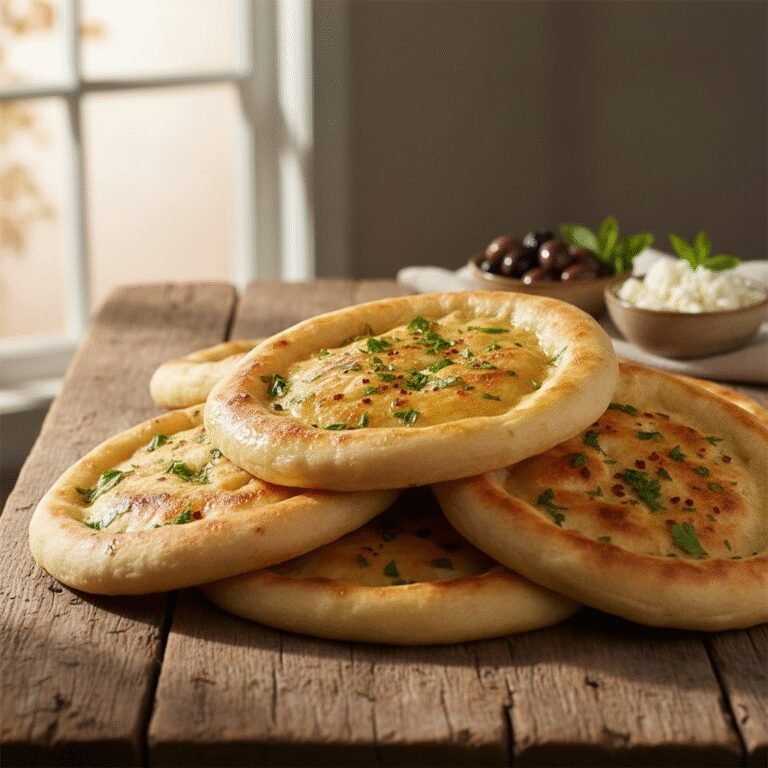
Lavash Bread Recipe
Forget store-bought wraps that crack the moment you roll them. This homemade Lavash is pillowy soft, incredibly versatile, and surprisingly fun to make right on your stovetop!
20 minutes
15 minutes
1 hour 35 minutes
10 large flatbreads
Bread
Stovetop / Skillet
Middle Eastern / Armenian
Vegan
Hey friends! If you have ever stood in the grocery store aisle staring at a package of dry, expensive flatbreads and thought, "There has to be a better way," today is your lucky day. We are diving into the wonderful world of Lavash bread. If you aren’t familiar with it, Lavash is a traditional thin flatbread that is a staple in Armenian and Middle Eastern cuisine. It is that huge, beautiful, bubbly bread often served with kebabs or used to make the most epic shawarma wraps.
Here is the honest truth: making bread can be intimidating. I get it! Yeast can be scary, and kneading feels like a workout. But Lavash? It is incredibly forgiving. Unlike a big loaf of sourdough that takes days, this dough comes together quickly and cooks in literal seconds on a hot skillet. The result is a stack of warm, pliable, soft bread that smells absolutely heavenly.
This recipe has become a total game-changer for my lunch prep. Whether we are making turkey pinwheels for the kids’ lunchboxes, quick personal pizzas for dinner, or just needing a vehicle for a massive amount of hummus, this Lavash delivers every time. Plus, there is something so satisfying about rolling the dough paper-thin and watching it puff up like a balloon in the pan. Let’s get baking!
History & Origins
Lavash is ancient—we are talking thousands of years of history here! It is most closely associated with Armenian culture, but it is a beloved staple across the entire Caucasus region, Iran, and Turkey. In fact, the preparation of Lavash is so culturally significant that it was inscribed on the UNESCO Representative List of the Intangible Cultural Heritage of Humanity.
Traditionally, Lavash is baked in a tonir (or tandoor), which is a clay oven dug into the ground. The baker (often a group of women working together) would slap the rolled-out dough against the hot clay walls of the oven, where it would bake in seconds and peel off. While we probably don’t have a clay pit in our kitchen floors, the concept remains the same: high heat and thin dough create that signature blistered, bubbly texture we love.
Why This Recipe Works
You might be wondering how we get that soft, foldable texture without a clay oven. The science here is all about hydration and heat. We use a dough with a moderate amount of water and a little bit of fat (olive oil), which keeps the gluten strands lubricated and pliable. This allows us to roll the dough extremely thin without it tearing.
When that thin sheet hits a scorching hot cast-iron skillet, the water inside the dough turns to steam instantly. Because the gluten structure is strong from kneading, it traps that steam, causing the bread to balloon up and create those lovely air pockets. Finally, the real secret to keeping it soft (and not turning it into a cracker) is the post-cooking steam. By stacking the hot breads under a damp towel immediately after cooking, they steam each other, ensuring they stay flexible for days.
Why You’ll Love This Recipe
- ✓Requires only simple pantry staples
- ✓Cooks in seconds on a regular stovetop
- ✓Much cheaper and tastier than store-bought wraps
- ✓Freezes beautifully for meal prep
- ✓Fun, hands-on recipe to make with kids
- ✓Can be made soft for wraps or crispy for crackers
Equipment You’ll Need
- ✓Large mixing bowl
- ✓Rolling pin (dowels work best)
- ✓Cast iron skillet or large non-stick pan
- ✓Clean kitchen towel
- ✓Spray bottle (optional)
- ✓Tongs
Ingredients
- ✓3 cups All-Purpose Flour (plus extra for dusting)
- ✓1 cup Warm Water (approx 110°F/45°C)
- ✓1 tsp Instant Yeast
- ✓1 tsp Sugar or Honey (to feed the yeast)
- ✓1.5 tsp Sea Salt
- ✓2 tbsp Olive Oil
Instructions
- Activate the Yeast: In a small bowl or measuring cup, mix the warm water, sugar, and yeast. Let it sit for about 5-10 minutes until it gets frothy and bubbly. This wakes up the yeast!
- Mix the Dough: In a large mixing bowl, combine the flour and salt. Pour in the yeast mixture and the olive oil. Mix with a wooden spoon or your hands until a shaggy dough forms.
- Knead: Transfer the dough onto a clean surface. Knead for about 8-10 minutes. You want the dough to be smooth, elastic, and not sticky. If it is too sticky, add a sprinkle of flour; if too dry, wet your hands and keep kneading.
- First Rise: Lightly oil your mixing bowl, place the dough inside, and cover with a damp cloth or plastic wrap. Let it rest in a warm spot for about 1 hour, or until it has doubled in size.
- Divide and Rest: Punch the dough down gently. Divide it into 10 equal pieces and roll them into small balls. Cover the balls with a towel and let them rest for another 15 minutes. This relaxes the gluten so they are easy to roll out.
- Roll Thin: Heat your skillet over medium-high heat. Take one dough ball (keep the others covered!) and roll it out on a floured surface. You want this paper thin—so thin you can almost see the counter through it. Aim for a rectangle or oval shape.
- Cook: Carefully lift the thin dough and lay it into the hot dry skillet (no oil needed). Cook for about 30-45 seconds. You will see bubbles starting to form immediately. Flip it over and cook for another 20-30 seconds until you see golden brown spots.
- The Steam Secret: Remove the bread from the pan. Immediately place it on a plate and cover it with a slightly damp clean kitchen towel. Alternatively, lightly spritz the hot bread with water from a spray bottle before covering. This is crucial for keeping it soft!
- Repeat: Repeat with the remaining dough balls, stacking them directly on top of each other under the towel.
Expert Cooking Tips
- ✓Roll it thin: I cannot stress this enough! If the dough is too thick, you are making pita, not lavash. Use plenty of flour to prevent sticking while rolling.
- ✓Hot Pan: The pan needs to be properly hot before the dough hits it. If the heat is too low, the bread will dry out before it bubbles.
- ✓Keep it covered: Never leave the dough balls or the finished bread exposed to air. They dry out very fast. The damp towel is your best friend.
- ✓Don’t overcook: It really only takes seconds. If you cook it until it is crispy in the pan, it will break when you fold it.
Substitutions and Variations
If you want to make this a bit healthier, you can substitute up to half of the all-purpose flour with whole wheat flour, though you may need an extra splash of water as whole wheat is thirstier. For a gluten-free version, you would need a high-quality 1:1 gluten-free baking flour blend, but be warned: rolling it paper-thin without tearing is much more difficult without gluten!
If you don’t have olive oil, any neutral vegetable oil or melted butter works perfectly fine. You can also skip the sugar if you prefer, but it helps the yeast activate faster and aids in browning.
Common Mistakes to Avoid
The most common mistake is overcooking the bread. Because it is so thin, the line between ‘perfectly soft’ and ‘crunchy cracker’ is very fine. As soon as you see those golden brown blisters, take it off! Another mistake is not letting the dough rest. If you try to roll the dough and it keeps shrinking back like a rubber band, the gluten is too tight. Let it sit covered for 10 more minutes and try again.
Serving Suggestions
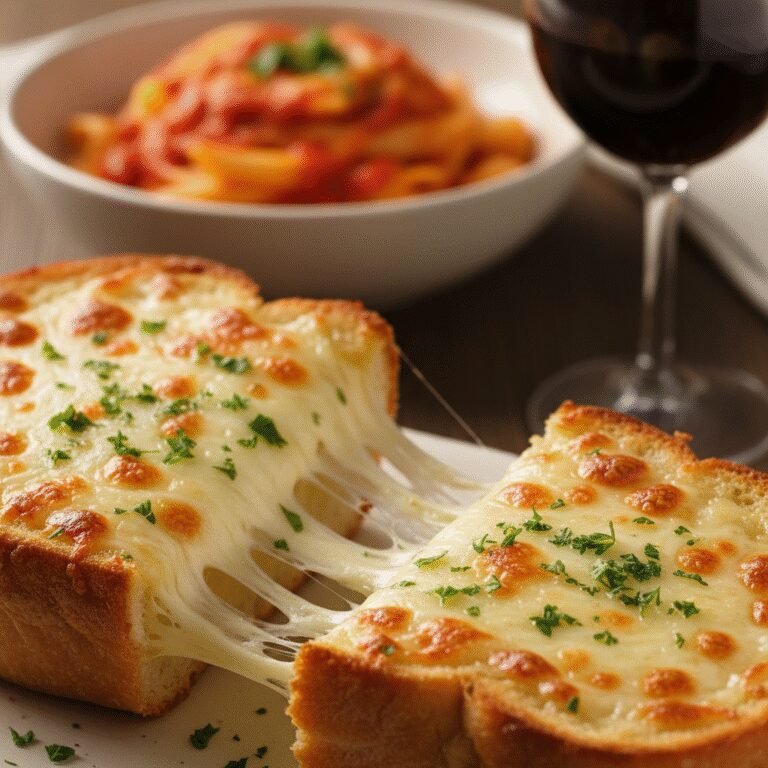
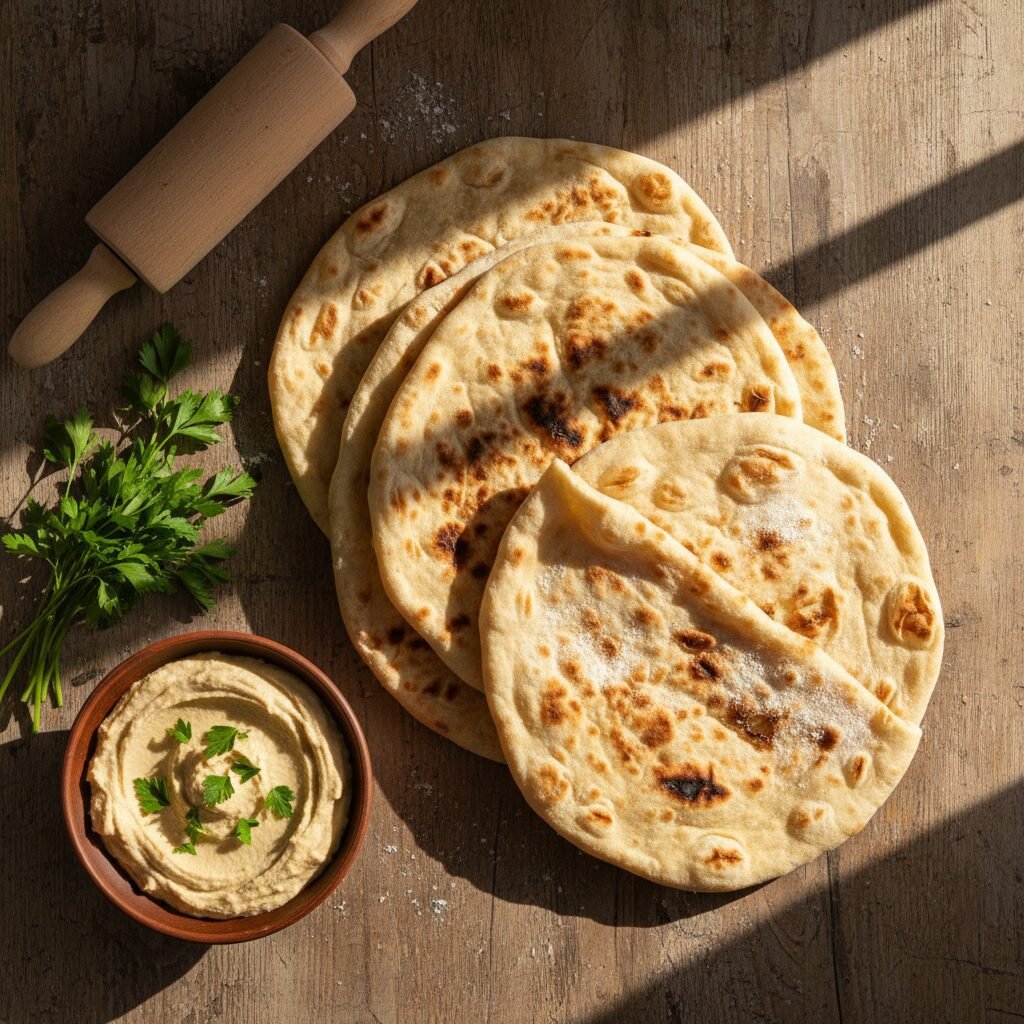
The possibilities are endless! Use fresh Lavash for classic chicken shawarma wraps with garlic sauce and pickles. It is perfect for breakfast burritos or simply served warm on the side of a Shakshuka to scoop up that tomatoey goodness. My kids love it as a quick pizza base—just add sauce and cheese and broil for a minute. You can also brush old Lavash with oil, sprinkle with za’atar or herbs, and bake until crisp for homemade chips!
Storage and Reheating Tips
Once the Lavash has cooled completely (while still covered), transfer the stack into a large Ziploc bag or an airtight container. It stays fresh at room temperature for 2-3 days. For longer storage, freeze the bag! It freezes incredibly well for up to 3 months. To use, just pull out a sheet and let it thaw on the counter for 10 minutes, or warm it in a pan for 10 seconds to revive that fresh-baked flexibility.
Nutrition Facts (Estimated)
| Serving Size | 1 flatbread |
| Calories | 145 kcal |
| Fat | 3g |
| Saturated Fat | 0.4g |
| Unsaturated Fat | 2.5g |
| Trans Fat | 0g |
| Cholesterol | 0mg |
| Sodium | 280mg |
| Carbohydrates | 26g |
| Fiber | 1.2g |
| Sugar | 0.5g |
| Protein | 4g |
Frequently Asked Questions
Why is my Lavash turning out hard and crispy?
You likely cooked it too long or your heat wasn’t high enough. Low heat dries out the bread slowly. You want high heat for a fast cook! Also, don’t forget the damp towel trick immediately after cooking.
Can I make the dough ahead of time?
Yes! You can make the dough, let it rise, punch it down, and store it in the fridge for up to 24 hours. Cold dough is actually quite easy to roll out. Just let it come to room temp slightly before cooking.
Do I need a stand mixer?
Nope! This dough is very easy to mix and knead by hand. It’s actually a great stress reliever!
Can I make this without yeast?
Yes, traditional Lavash can be made unleavened. You can skip the yeast and sugar. The texture will be slightly denser and less bubbly, but still delicious. Just ensure you rest the dough well.
What if I don’t have a cast iron skillet?
A non-stick pan or a crepe pan works fine. You can even use a wok turned upside down over the flame to mimic the traditional dome shape!
Why does my dough keep shrinking when I roll it?
The gluten is tense. Cover it and let it rest for 10-15 minutes. This relaxes the gluten strands and will make rolling much easier.
How do I reheat Lavash?
Sprinkle it with a tiny bit of water and warm it in a dry pan for 10-15 seconds per side, or wrap in a damp paper towel and microwave for 10 seconds.
Is this vegan?
Yes, this recipe is 100% vegan and dairy-free.
Conclusion
I hope you give this homemade Lavash recipe a try! It is genuinely one of those kitchen skills that makes you feel like a professional baker, even though it is surprisingly simple. There is nothing quite like the smell of fresh bread filling your kitchen, and the taste is lightyears ahead of anything wrapped in plastic at the store. So grab your rolling pin, turn up the music, and get ready to make the best wraps of your life. Happy baking!