Homemade Yogurt Bread
If you have been looking for the ultimate sandwich bread that is soft, fluffy, and practically foolproof, you have found it! The secret ingredient here is yogurt, which transforms simple dough into a cloud-like loaf that your family will devour in minutes.
20 minutes
35 minutes
2 hours 30 minutes (includes rising time)
1 Large Loaf (approx. 12 slices)
Bread
Baking
American / International
Vegetarian
Hey there, busy mamas and baking enthusiasts! Let’s talk about that feeling when you walk into a bakery. You know the one—that warm, yeasty hug of a scent that instantly makes your shoulders drop and your mouth water. There is something so primal and comforting about fresh bread. But let’s be real, between school drop-offs, laundry mountains, and trying to keep tiny humans alive, the idea of baking bread from scratch can feel a little… daunting. Fear not! I am about to share a recipe that is going to change your baking game forever: Homemade Yogurt Bread.
Why yogurt? Oh, I am so glad you asked! Adding yogurt to bread dough is like sending your flour to a luxury spa. It relaxes the gluten, adds incredible moisture, and creates a texture so soft it creates the perfect pillow for your morning jam or lunchtime turkey sandwich. This isn’t just bread; it is a slice of love. I started making this when my kids went through a phase where they refused store-bought crusts (we have all been there, right?), and now, they beg for this ‘cloud bread’ every week. It is forgiving, it is fun, and honestly, punching down dough is cheaper than therapy!
Whether you are a seasoned pro with flour on your apron or a total newbie who is terrified of yeast, this recipe is designed for you. Grab your mixing bowl, and let’s make some magic happen in the kitchen!
History & Origins
While we might think of yogurt bread as a modern Pinterest trend, the concept of using fermented dairy in baking goes back centuries. Historically, bakers didn’t always have access to commercial yeast packets. They relied on natural fermentation—think sourdough starters or leftover whey from cheese making—to leaven their breads.
In many Eastern European and Middle Eastern cultures, adding yogurt or sour milk to dough was a practical way to use up dairy before it spoiled while simultaneously enriching the bread. The acidity in these fermented products acted as a natural dough conditioner long before chemical additives existed. It made the bread rise better, taste richer, and stay fresh longer without preservatives. So, when you bake this loaf, you aren’t just making a sandwich; you are tapping into a global tradition of resourceful, nourishing home cooking that has fed families for generations.
Why This Recipe Works
Let’s geek out on the science for a quick second—I promise to keep it painless! The magic of this recipe lies in the acidity of the yogurt. Most plain yogurts have a pH level that is slightly acidic. When you introduce this to your dough, a couple of wonderful things happen.
First, the acid helps to strengthen the gluten network initially, but then softens it during the baking process, resulting in a crumb that is structured yet incredibly tender. Second, the fats and proteins in the yogurt coat the flour particles, which inhibits gluten formation just slightly—enough to prevent the bread from becoming tough or chewy. Finally, that acidity acts as a natural preservative, meaning this homemade loaf won’t go stale as quickly as a standard water-and-flour baguette. It is the perfect marriage of chemistry and comfort food.
Why You’ll Love This Recipe
- ✓Incredibly soft and tender crumb
- ✓Stays fresh longer than regular homemade bread
- ✓High in calcium and slightly higher protein
- ✓Kid-friendly and perfect for sandwiches
- ✓Simple ingredients you likely have on hand
- ✓Can be made by hand or with a stand mixer
Equipment You’ll Need
- ✓Large mixing bowl
- ✓Stand mixer with dough hook (optional)
- ✓9×5 inch loaf pan
- ✓Measuring cups and spoons
- ✓Kitchen thermometer (optional but helpful)
- ✓Clean kitchen towel or plastic wrap
- ✓Wire cooling rack
Ingredients
- ✓3 1/2 to 4 cups All-Purpose Flour (or Bread Flour for more chew)
- ✓1 cup Plain Yogurt (room temperature, not Greek)
- ✓1/2 cup Warm Water (approx. 110°F/45°C)
- ✓2 1/4 tsp Instant Yeast (1 packet)
- ✓2 tbsp Sugar (or Honey)
- ✓1 large Egg (room temperature)
- ✓2 tbsp Unsalted Butter (melted and slightly cooled) or Vegetable Oil
- ✓1 1/2 tsp Salt
Instructions
- Activate the Yeast: In a small bowl or measuring cup, combine the warm water and sugar. Sprinkle the yeast over the top and give it a quick stir. Let it sit for about 5-10 minutes until it becomes foamy and bubbly. If it doesn’t bubble, your yeast might be dead, and you’ll need to start over!
- Mix Wet Ingredients: In a large mixing bowl (or the bowl of your stand mixer), whisk together the room temperature yogurt, egg, melted butter, and the foamy yeast mixture until well combined.
- Combine with Flour: Add about 3 cups of the flour and the salt to the wet ingredients. If using a stand mixer, mix on low speed with the dough hook. If mixing by hand, use a sturdy wooden spoon to stir until a shaggy dough forms.
- Knead the Dough: Gradually add the remaining flour, 1/4 cup at a time, kneading constantly. You want the dough to be soft and slightly tacky, but not sticking aggressively to your fingers. Knead on medium speed for about 5-7 minutes, or by hand on a floured surface for 8-10 minutes, until the dough is smooth and elastic. You should be able to stretch it without it tearing immediately (the windowpane test).
- First Rise: Lightly grease a large bowl with oil or cooking spray. Place the dough inside, turning it once to coat the top with oil. Cover with a damp kitchen towel or plastic wrap. Place in a warm, draft-free spot and let it rise for about 1 to 1.5 hours, or until it has doubled in size.
- Shape the Loaf: Once risen, gently punch the dough down to release the air bubbles. Turn it out onto a lightly floured surface. Press it into a rectangle roughly the width of your loaf pan. Roll it up tightly, pinching the seams closed at the bottom and tucking the ends under.
- Second Rise: Grease your 9×5 inch loaf pan. Place the shaped log into the pan, seam side down. Cover loosely with greased plastic wrap and let it rise again for about 30-45 minutes. The dough should rise about an inch above the rim of the pan.
- Preheat and Bake: While the dough is doing its second rise, preheat your oven to 350°F (175°C). Once risen, remove the plastic wrap. Bake on the center rack for 30-35 minutes. The top should be golden brown, and the loaf should sound hollow when tapped on the bottom. The internal temperature should register around 190°F (88°C).
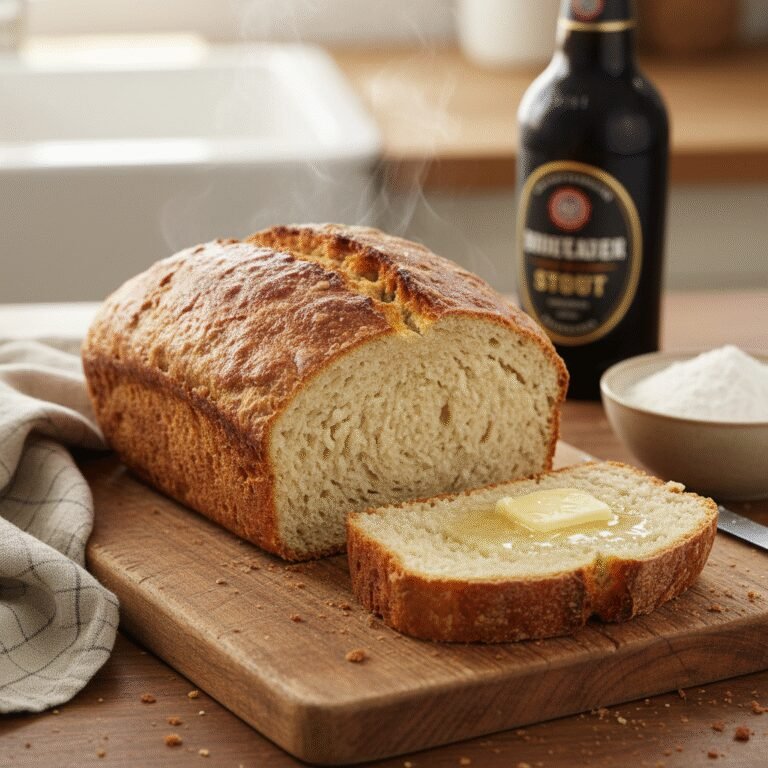
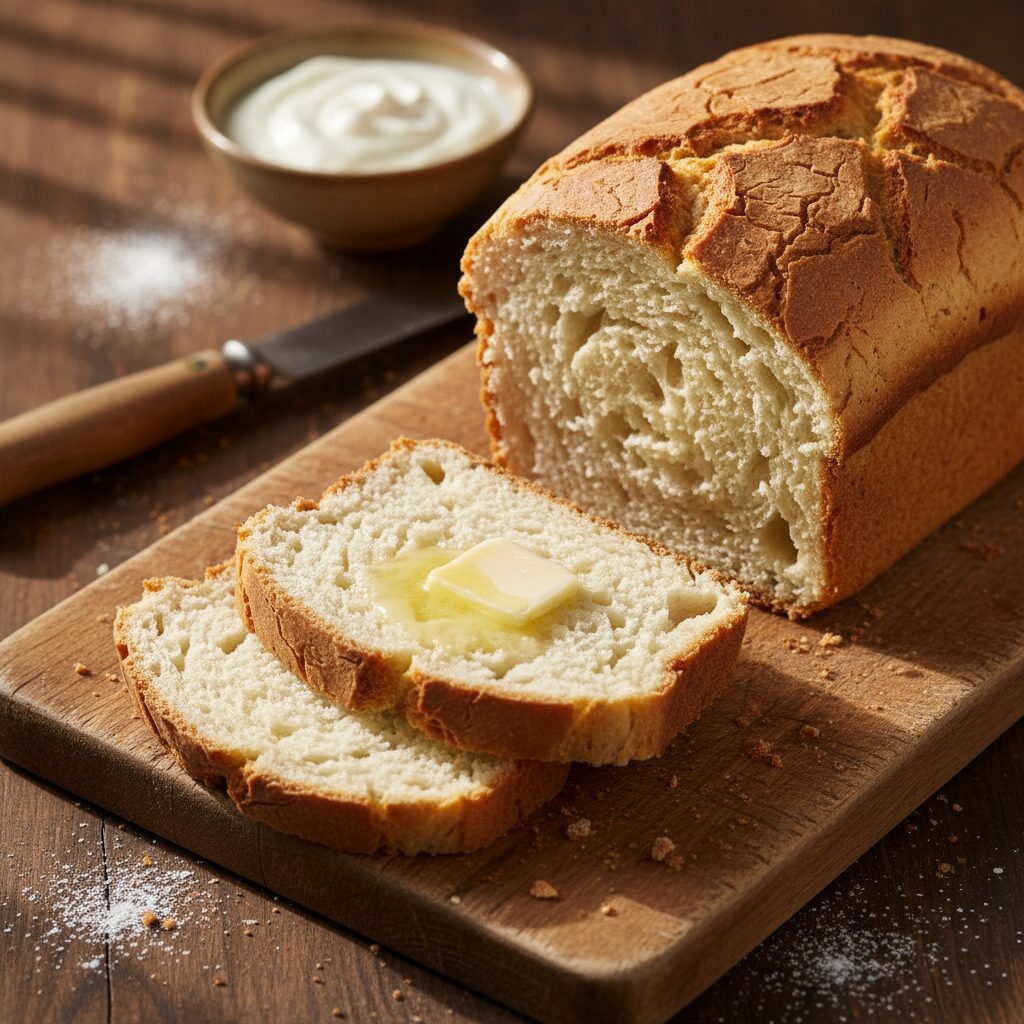
- Cool: Remove the bread from the oven and let it cool in the pan for 10 minutes. Then, turn it out onto a wire rack to cool completely before slicing. Cutting into hot bread can make it gummy, so patience is key!
Expert Cooking Tips
- ✓Room Temperature Ingredients: Ensure your yogurt and egg are at room temperature. Cold ingredients can shock the yeast and slow down the rising process significantly.
- ✓Yogurt Type: Use plain, regular yogurt rather than Greek yogurt for this specific recipe. Greek yogurt is thicker and has less whey, which alters the hydration. If you must use Greek yogurt, thin it out with a tablespoon or two of milk.
- ✓Flour Measurement: Don’t scoop the flour directly with the measuring cup, as this packs it down. Instead, spoon the flour into the cup and level it off with a knife for accuracy.
- ✓Don’t Over-Flour: It is better to have a slightly sticky dough than a dry one. Add the last cup of flour slowly; you might not need all of it depending on the humidity in your kitchen.
- ✓The Windowpane Test: To check if you have kneaded enough, tear off a small piece of dough and stretch it gently. If it stretches thin enough to let light through without breaking, the gluten is well-developed.
Substitutions and Variations
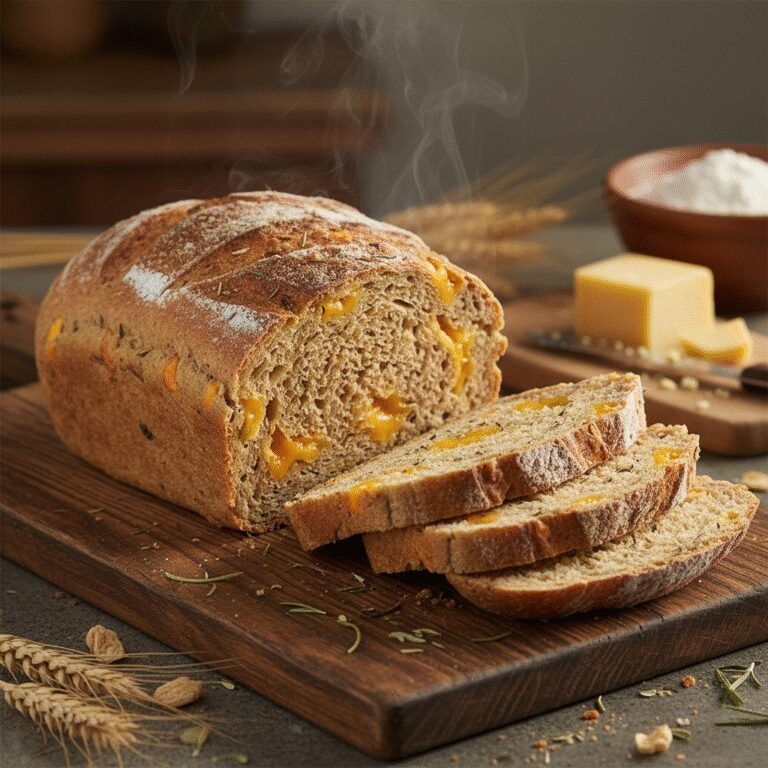
This recipe is super versatile! If you are out of butter, you can easily swap it for olive oil or vegetable oil for a dairy-free fat option (though the yogurt still contains dairy). For the sugar, honey or maple syrup works beautifully and adds a lovely floral note. If you want to make this a bit healthier, you can substitute up to 50% of the all-purpose flour with whole wheat flour, though you may need an extra splash of water as whole wheat absorbs more liquid. For a dairy-free version, use a plant-based yogurt (like soy or almond) and oil, but ensure the yogurt has some protein content for the best texture.
Common Mistakes to Avoid
The most common mistake is killing the yeast with water that is too hot. It should feel like warm bathwater, not hot tea. Another pitfall is adding too much flour during kneading. It’s tempting to keep adding flour if the dough is sticky, but trust the process—too much flour leads to a dense, brick-like loaf. Lastly, slicing too soon is a tragedy! The bread continues to cook internally while it cools. Cutting it while hot releases the steam and can leave you with a gummy texture inside.
Serving Suggestions
This bread is a superstar for classic sandwiches like grilled cheese or BLTs because it toasts up beautifully crisp on the outside while staying soft inside. For a sweet treat, toast a thick slice and top it with ricotta cheese, a drizzle of honey, and fresh figs. It is also sturdy enough to be cubed up for a savory bread pudding or homemade croutons if you happen to have leftovers (which is rare!).
Storage and Reheating Tips
Store your cooled yogurt bread in an airtight container or a bread bag at room temperature for up to 3-4 days. The yogurt helps keep it moist longer than standard French bread. If you want to keep it longer, slice the entire loaf, place parchment paper between the slices, and freeze it in a heavy-duty freezer bag for up to 3 months. You can pop individual slices straight into the toaster from frozen!
Nutrition Facts (Estimated)
| Serving Size | 1 Slice |
| Calories | 145 |
| Fat | 3g |
| Saturated Fat | 1g |
| Unsaturated Fat | 1.5g |
| Trans Fat | 0g |
| Cholesterol | 5mg |
| Sodium | 210mg |
| Carbohydrates | 26g |
| Fiber | 1g |
| Sugar | 2g |
| Protein | 4g |
Frequently Asked Questions
Can I use Greek yogurt instead of regular plain yogurt?
Yes, but with a modification. Greek yogurt has less liquid. If you use it, you will likely need to add an extra 1-2 tablespoons of water or milk to get the dough to the right consistency.
My dough isn’t rising. What happened?
Usually, this means the yeast is old or the water was too hot/cold. The room might also be too cool. If your house is cold, try letting the dough rise inside the oven with just the light turned on.
Can I make this bread without a stand mixer?
Absolutely! It just requires a bit of elbow grease. Mix with a wooden spoon until difficult, then turn out onto a counter and knead by hand for about 8-10 minutes. It’s a great arm workout!
Is this bread sour like sourdough?
Not really. While the yogurt adds a very subtle tang, it is much milder than sourdough. It mostly contributes to a rich, creamy flavor profile rather than a sour one.
Can I use instant yeast instead of active dry?
Yes. The recipe calls for instant yeast, but if you have active dry, just make sure to proof it in the water and sugar for 5-10 minutes until bubbly before adding the other ingredients.
Why did my bread collapse in the oven?
This usually happens if the dough was allowed to rise for too long (over-proofing). The gluten structure becomes too weak to hold the air bubbles. Watch the size, not just the clock!
Can I add mix-ins like seeds or nuts?
Yes! You can fold in sunflower seeds, flax seeds, or chopped walnuts during the last minute of kneading. About 1/2 cup usually works well.
How do I know when the bread is fully cooked?
The most accurate way is using a digital thermometer; the center should read 190°F (88°C). Alternatively, tap the bottom of the loaf—it should sound hollow.
Conclusion
There you have it, friends! A simple, reliable, and utterly delicious way to bring the bakery into your own kitchen. Making Homemade Yogurt Bread is one of those small domestic victories that makes you feel like a superhero. The smell alone is worth the effort, but the taste? That is what will keep you coming back to this recipe time and time again.
So, grab that tub of yogurt from the fridge and get baking. Don’t forget to slather that first warm slice with plenty of butter—you’ve earned it! If you try this recipe, snap a photo and tag me; I love seeing your beautiful loaves rising to perfection!