Easy No Yeast Bread Recipe
Craving fresh homemade bread but intimidated by yeast or short on time? This miracle loaf comes together in one bowl and bakes to golden perfection in less than an hour. It is the ultimate savior for last-minute dinners and busy mornings!
10 minutes
40 minutes
50 minutes
1 Loaf (10-12 Slices)
Bread
Baking
American / Irish Inspired
Vegetarian
Hey friends! Let’s talk about that moment of panic when you’re prepping dinner—maybe a cozy soup or a hearty pasta—and you realize you forgot to buy bread. The store is too far, and the idea of wrestling with yeast, kneading dough, and waiting hours for it to rise just isn’t happening in your busy schedule. I have been there a thousand times, and that is exactly why this Easy No Yeast Bread recipe has become a staple in my kitchen.
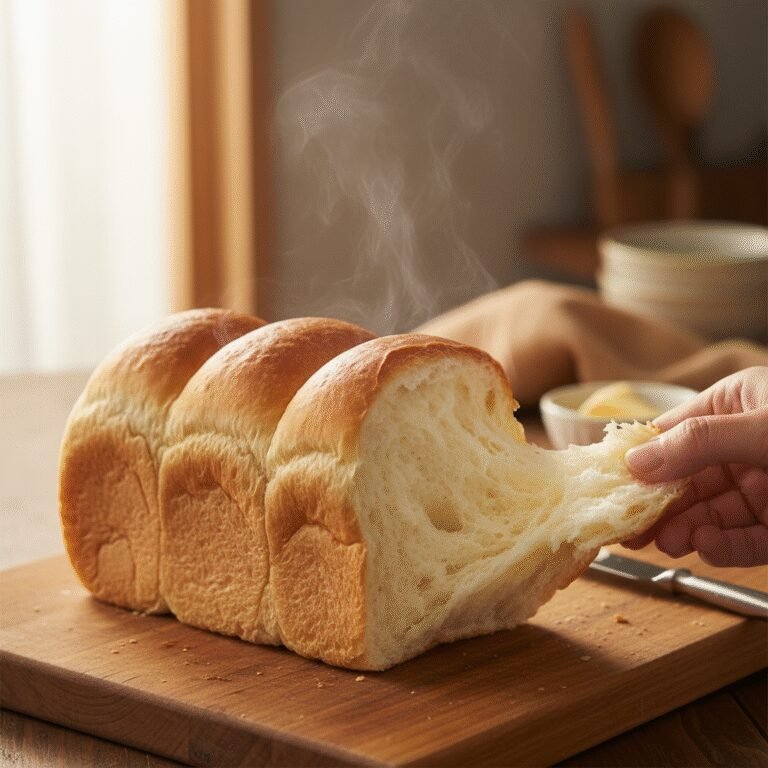
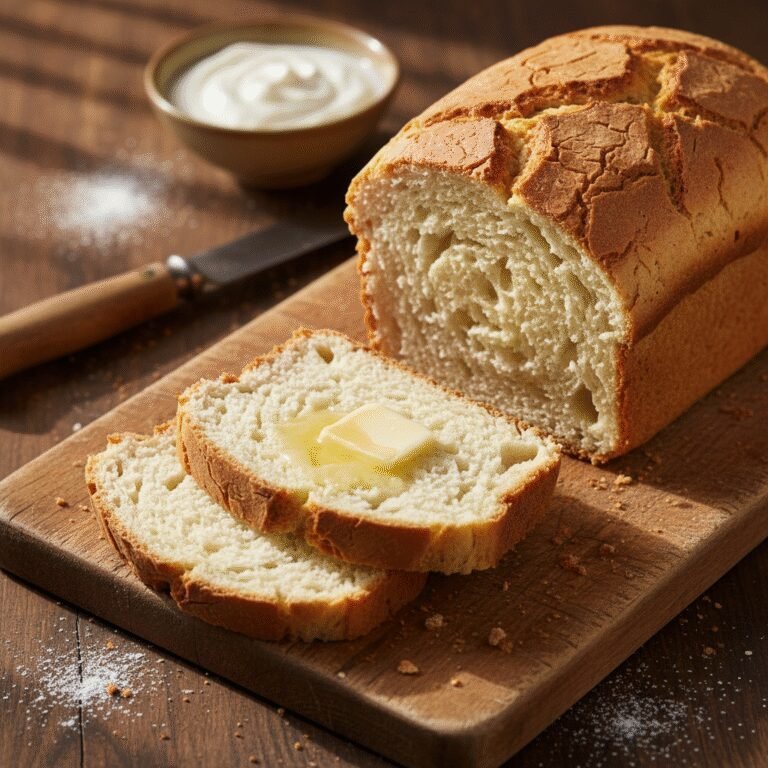
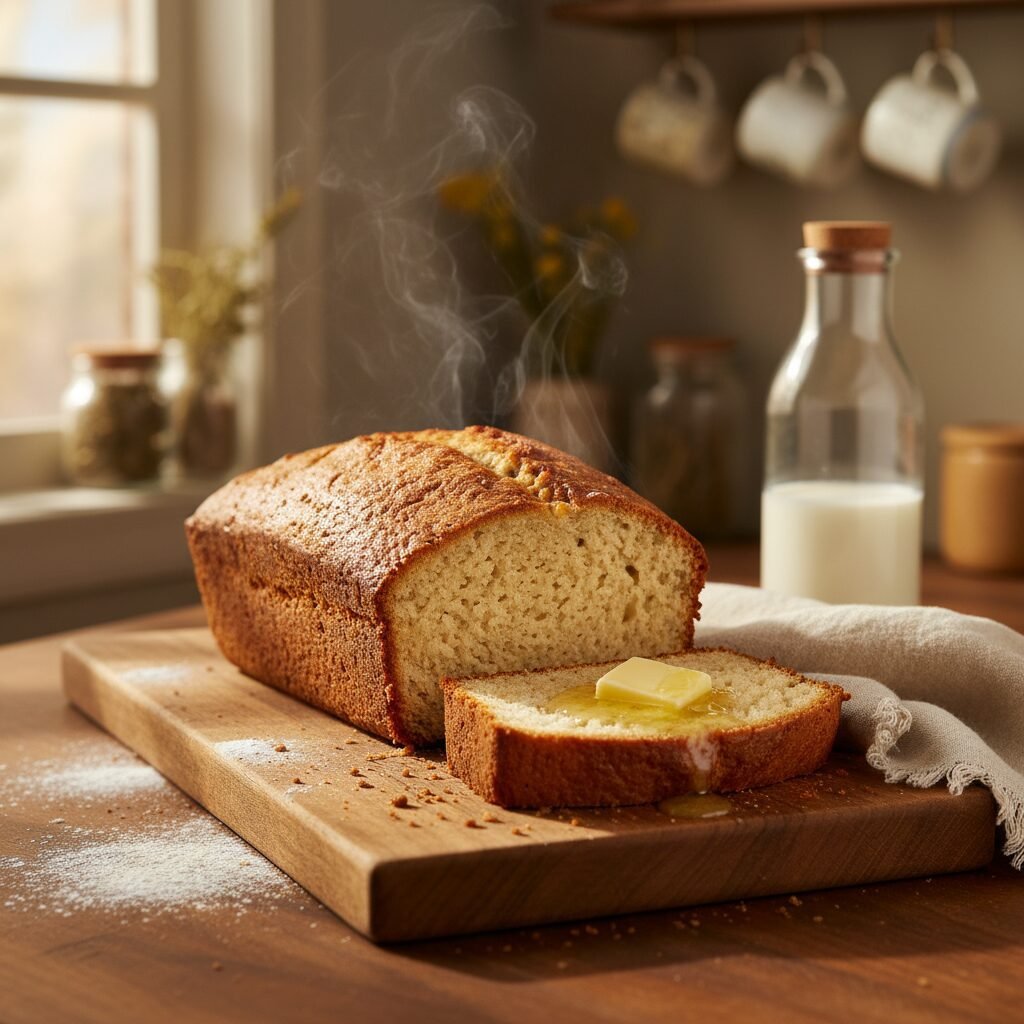
This isn’t just a backup plan; it is a delicious, crusty, buttery loaf that stands on its own. We are talking about a bread that requires zero kneading, zero proofing time, and ingredients you likely have sitting in your pantry right now. It is often referred to as ‘Emergency Bread,’ but honestly, it tastes too good for such a frantic name. The texture is somewhere between a classic sandwich loaf and a dense, comforting biscuit. It toasts beautifully, holds up to sandwiches, and is absolute heaven when slathered with salted butter and jam.
For all my fellow moms out there, this recipe is a total game-changer. It is simple enough that the kids can help measure and mix (it is a one-bowl wonder!), and fast enough that you can start it when you preheat the oven for dinner and have fresh, warm bread on the table by the time the timer goes off. Say goodbye to the intimidation of traditional bread baking and hello to your new favorite comfort food!
History & Origins
While we often associate bread making with the ancient art of fermentation using wild or commercial yeast, ‘quick breads’ have a fascinating history of their own. The concept of leavening bread without yeast gained massive popularity in the mid-19th century with the invention of chemical leaveners like baking soda and later, baking powder.
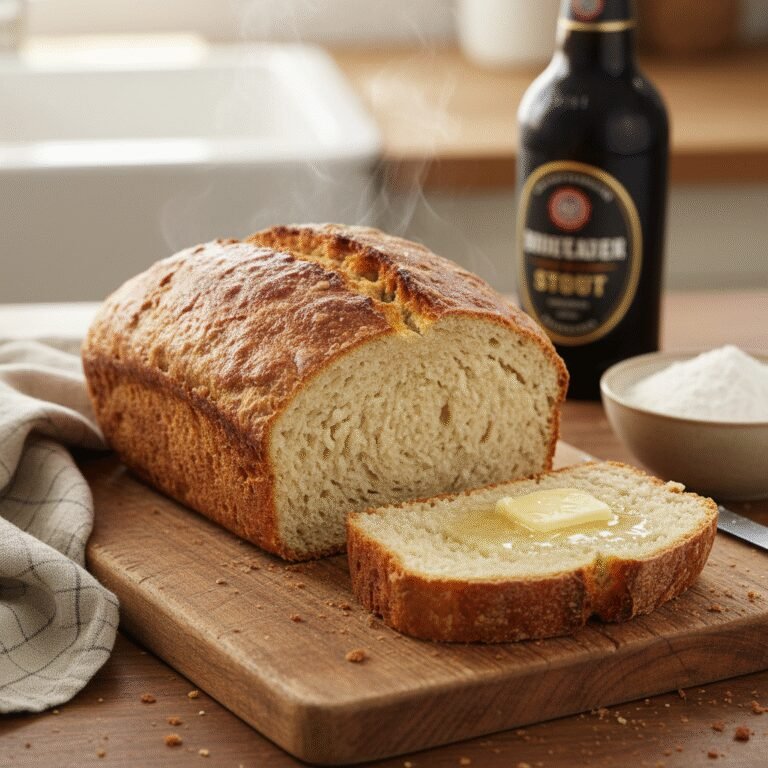
Before these chemical miracles, cooks relied on pearl ash or lengthy fermentation processes. The most famous relative of this no-yeast bread is the traditional Irish Soda Bread, which uses baking soda and acidic buttermilk to create lift. In North America, during times of scarcity or on the frontier where yeast was hard to keep alive, settlers relied heavily on biscuits, damper bread, and soda breads to feed their families quickly.
This specific recipe is a modern evolution of those classics. It strips away the need for buttermilk (though you can use it!) and relies on the double-acting power of modern baking powder. It bridges the gap between a savory scone and a sandwich loaf, representing a lineage of practical, home-style baking designed for efficiency and comfort.
Why This Recipe Works
The magic of this recipe lies in simple chemistry. Traditional bread relies on yeast eating sugars and producing carbon dioxide over a period of hours to expand the gluten network. In this No Yeast Bread, we bypass biology and use chemistry. We rely heavily on baking powder, which contains both an acid and a base.
When the baking powder gets wet, the first reaction occurs, creating tiny bubbles. When the batter hits the heat of the oven, a second reaction occurs (that is why it is called ‘double-acting’), giving the bread a rapid rise. Because we aren’t waiting for gluten to develop through fermentation, we don’t need to knead the dough. In fact, not kneading is crucial here! We want to mix just enough to combine the ingredients. This ensures the bread stays tender and soft rather than becoming tough and rubbery. The sugar in the recipe isn’t just for sweetness; it helps the crust caramelize to that beautiful golden-brown color, while the milk provides the fat and proteins needed for a tender crumb.
Why You’ll Love This Recipe
- ✓Ready in under 50 minutes from start to finish
- ✓No kneading or rising time required
- ✓Uses simple pantry staples
- ✓Kid-friendly baking project
- ✓Versatile for sweet or savory variations
- ✓Perfect golden crust with a soft interior
Equipment You’ll Need
- ✓9×5 inch Loaf Pan
- ✓Large Mixing Bowl
- ✓Whisk
- ✓Silicone Spatula or Wooden Spoon
- ✓Measuring Cups and Spoons
- ✓Parchment Paper (optional)
Ingredients
- ✓2 ½ cups All-Purpose Flour (plus a little extra for dusting)
- ✓4 teaspoons Baking Powder (ensure it is fresh!)
- ✓1 teaspoon Salt
- ✓2 tablespoons Granulated Sugar (or honey)
- ✓1 ¼ cups Milk (Whole milk works best, but 2% is fine)
- ✓¼ cup Unsalted Butter, melted and slightly cooled
- ✓Optional: 1 tablespoon fresh herbs (rosemary or thyme) for savory bread
Instructions
- Preheat and Prep: Preheat your oven to 375°F (190°C). Grease a 9×5 inch loaf pan generously with butter or cooking spray. For extra security, you can line it with parchment paper leaving an overhang for easy removal.
- Mix Dry Ingredients: In a large mixing bowl, whisk together the flour, baking powder, salt, and sugar. Make sure to whisk well to distribute the baking powder evenly—this ensures your bread rises uniformly.
- Combine Wet Ingredients: In a separate measuring cup or small bowl, combine the milk and the melted butter. If the butter solidifies slightly when hitting the cold milk, don’t worry, it will melt in the oven.
- Make the Dough: Pour the wet ingredients into the dry ingredients. Using a silicone spatula or wooden spoon, gently stir the mixture. Stop stirring as soon as the flour disappears. The dough will be shaggy, sticky, and lumpy. Do not overmix, or the bread will be tough!
- Pan the Dough: Scrape the dough into your prepared loaf pan. It will look messy, and that is okay! Use the spatula to gently spread it out towards the corners. It does not need to be perfectly smooth on top.
- Bake: Place the pan in the center of the preheated oven. Bake for 35 to 45 minutes. You are looking for a golden-brown top. Insert a toothpick into the center; if it comes out clean or with just a few moist crumbs, it is done.
- Cool: Remove the bread from the oven. Let it cool in the pan for about 10 minutes. Then, remove it from the pan and transfer it to a wire rack to cool completely before slicing. Slicing it while too hot can make it gummy.
Expert Cooking Tips
- ✓Check Your Baking Powder: Since this recipe relies entirely on baking powder for lift, make sure yours isn’t expired. Test it by putting a teaspoon in hot water; if it fizzes aggressively, it is good to go.
- ✓Don’t Overmix: This is the golden rule of quick breads. Mix until just combined. Lumps are your friend here.
- ✓Room Temperature Milk: If you have time, let your milk sit out for 20 minutes to take the chill off. It helps the butter mix in more smoothly.
- ✓Tent with Foil: If you notice the top of the bread browning too quickly before the inside is cooked (check around the 25-minute mark), loosely tent a piece of aluminum foil over the top.
Substitutions and Variations
This recipe is incredibly forgiving and flexible! Here are some easy swaps:
- Dairy-Free: Swap the cow’s milk for almond milk, oat milk, or soy milk. Replace the butter with melted coconut oil or a neutral vegetable oil.
- Flour: You can substitute up to half of the all-purpose flour with whole wheat flour for a nuttier taste, though the loaf will be denser. Do not use bread flour as it can make this specific quick bread too chewy.
- Sweetener: Honey or maple syrup can be used instead of sugar. Just whisk it into the wet ingredients instead of the dry.
- Buttermilk Hack: If you want a tangier, soda-bread style flavor, use buttermilk instead of regular milk and reduce the baking powder to 2 teaspoons while adding ½ teaspoon of baking soda.
Common Mistakes to Avoid
The most common mistake people make with no yeast bread is overworking the dough. Unlike yeast bread, you do not want to develop gluten. If you stir too vigorously, your bread will turn out rock-hard. Another issue is slicing too soon. I know the smell is irresistible, but quick breads need to set as they cool. Cutting into a piping hot loaf releases all the steam and can leave the texture gummy and doughy. Lastly, measuring flour incorrectly can lead to a dry loaf. Avoid scooping the flour directly with the cup; instead, spoon the flour into the cup and level it off with a knife.
Serving Suggestions
This bread is best served slightly warm. It is absolutely divine when toasted and slathered with salted Irish butter. For breakfast, try it with strawberry jam or honey. It also makes for a robust side dish for dinner—dunk it into a bowl of tomato basil soup, beef stew, or chili. Because the texture is a bit denser than yeast bread, it makes amazing open-faced sandwiches or avocado toast!
Storage and Reheating Tips
Since this bread contains no preservatives, it is best eaten within 2 days. Store it at room temperature wrapped tightly in plastic wrap or beeswax wrap to keep it moist. Freezing: This bread freezes wonderfully! Slice the loaf once it is completely cool, place slices of parchment paper between the bread slices, and store in a freezer-safe bag for up to 3 months. You can pop a slice directly into the toaster from the freezer!
Nutrition Facts (Estimated)
| Serving Size | 1 Slice |
| Calories | 165 kcal |
| Fat | 4g |
| Saturated Fat | 2g |
| Unsaturated Fat | 1.5g |
| Trans Fat | 0g |
| Cholesterol | 10mg |
| Sodium | 280mg |
| Carbohydrates | 28g |
| Fiber | 1g |
| Sugar | 4g |
| Protein | 4g |
Frequently Asked Questions
Can I use self-rising flour?
Yes! If you use self-rising flour, omit the baking powder and salt from the recipe, as they are already included in the flour mix.
Why is my bread dense and heavy?
This usually happens for two reasons: either the dough was overmixed, or the baking powder was old and inactive. Remember to mix gently and check your expiration dates!
Can I add mix-ins like cheese or nuts?
Absolutely! You can fold in about ½ cup of shredded cheddar cheese, chopped nuts, dried fruit, or jalapenos. Just toss them in with the flour before adding the wet ingredients.
Does this taste like regular yeast bread?
Not exactly. The texture is more similar to a very large, soft biscuit or a savory scone. It lacks the elastic chew of yeast bread but makes up for it with a tender, crumbly texture.
Can I make this gluten-free?
Yes, you can use a 1:1 Gluten-Free All-Purpose Baking Flour blend. Ensure the blend contains xanthan gum for structure. The texture might be slightly more crumbly.
Do I need a loaf pan?
A loaf pan helps it keep its shape and rise higher. However, you can shape it into a round mound on a baking sheet for a rustic ‘cob’ style loaf, though it will spread more and be flatter.
Why did my bread crack on top?
A crack down the middle is actually characteristic of quick breads! It happens because the outside sets before the inside finishes rising. It gives it a rustic, homemade look.
Can I double the recipe?
Yes, but bake them in two separate loaf pans. Do not try to bake a giant loaf in one pan as the center will not cook through before the outside burns.
Conclusion
There you have it—the easiest, most stress-free bread recipe you will ever make! Whether you are a busy mom trying to get dinner on the table, a beginner baker afraid of yeast, or just someone who loves the smell of fresh baking without the wait, this No Yeast Bread is for you. It proves that homemade food doesn’t always have to be complicated to be delicious. Give it a try tonight, and I promise, your kitchen will smell like a bakery in no time. Happy baking!