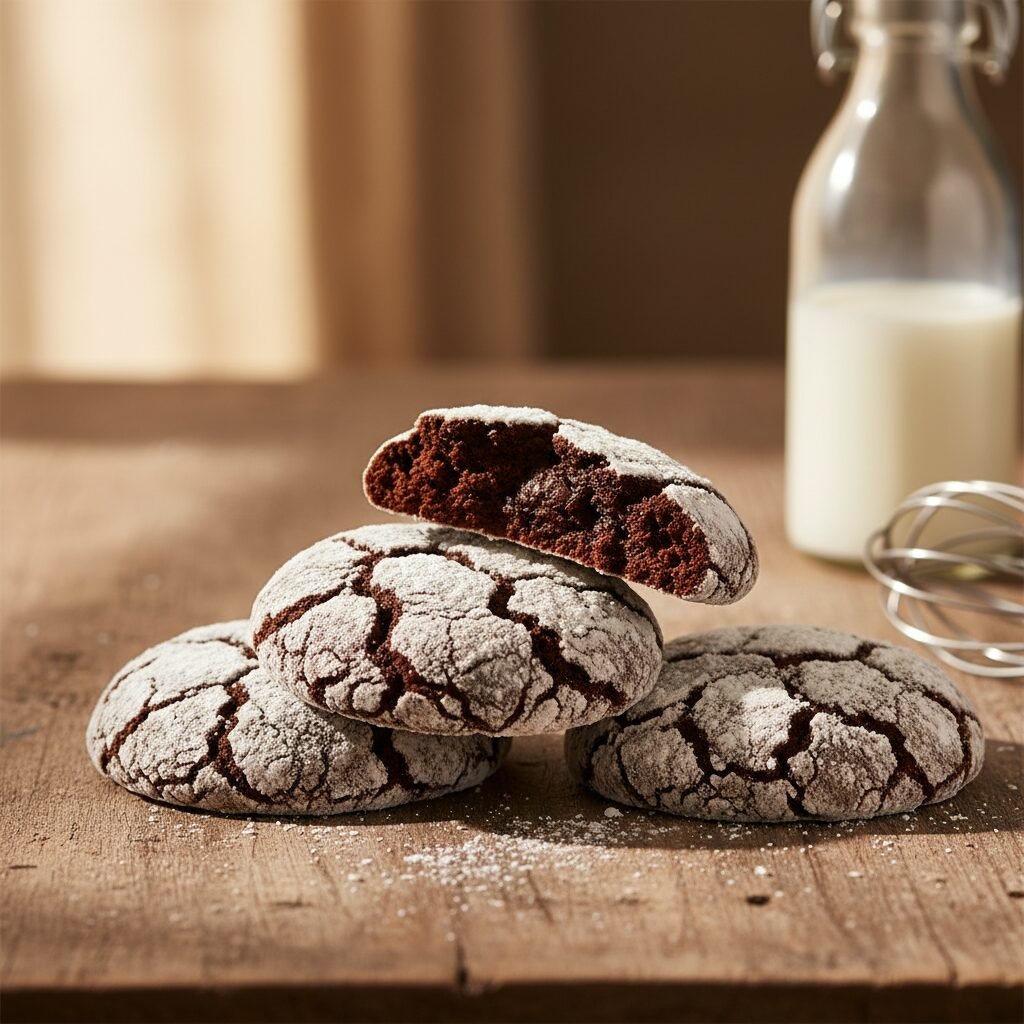
Chocolate Cool Whip Cookies
Imagine a cookie that tastes like a fudgy brownie but is light as a cloud. With just four ingredients and a box of cake mix, these Chocolate Cool Whip Cookies are the easiest baking win you will ever have!
10 minutes
12 minutes
22 minutes
24 Cookies
Dessert
Baking
American
Vegetarian
Let’s be honest for a moment, friends. There are days when we want to be the mom who makes elaborate, scratch-made pastries that require chilling dough for 24 hours and browning butter on the stove. And then, there are the real days. The days when the bake sale slipped your mind until 8 PM the night before, or when a rainy Tuesday afternoon calls for a chocolate emergency, but the pantry is looking a little bare. That is exactly where these Chocolate Cool Whip Cookies come in to save the day.
If you have spent any time scrolling through Pinterest looking for the holy grail of easy desserts, you have likely stumbled upon cake mix cookies. But let me tell you, adding Cool Whip changes the game entirely. It is not just about convenience; it is about texture. These cookies are pillowy, soft, and impossibly fudgy, landing somewhere between a crinkle cookie and a brownie. Because we are using whipped topping as the main fat source instead of oil or butter, the result is a lighter, airier bite that melts in your mouth.
This recipe holds a special place in my heart because it is the very first thing I taught my kids to bake. The dough is delightfully messy (in the best way), rolling the balls in powdered sugar is a sensory dream for toddlers, and the success rate is 100%. Whether you are prepping for a holiday cookie exchange, need a quick treat for a potluck, or just need to satisfy a chocolate craving without destroying your kitchen, this recipe is your new best friend. Grab that tub of Cool Whip from the freezer, and let’s make some magic!
History & Origins
The history of the Cool Whip Cookie is deeply rooted in the mid-century American obsession with convenience cooking. When Cool Whip was introduced by the Birds Eye division of General Foods in 1966, it revolutionized American desserts. Suddenly, housewives didn’t need to whip heavy cream by hand; they had a stable, sweet, fluffy topping ready to go from the freezer. It wasn’t long before home cooks started experimenting with this new ingredient beyond just topping pies.
During the 1970s and 80s, “back of the box” recipes became incredibly popular. The concept of using a boxed cake mix as a base for cookies—often called “Cake Mix Crinkles”—was already circulating. Ingenious home bakers discovered that substituting the oil and liquid in the cake mix recipe with a tub of Cool Whip created a unique texture that was less dense than a standard cookie but sturdier than a cake. It became a staple in community cookbooks, church potlucks, and holiday cookie platters across the Midwest and South. Today, it remains a beloved “hack” recipe that proves you don’t need a culinary degree to bake something delicious.
Why This Recipe Works
You might be wondering, “How on earth do you make cookies without butter or oil?” The science behind these cookies is actually quite fascinating! Standard cookies rely on butter or oil for fat, which creates tenderness, and eggs for structure. In this recipe, the Cool Whip does double duty. It provides the necessary fat and sugar, but because it is an aerated emulsion (water, oil, and air), it incorporates a massive amount of air into the batter right from the start.
When you mix the airy Cool Whip with the dense, dry cake mix and the binding power of a single egg, you create a dough that is sticky and light. As the cookies bake, the stabilizers in the Cool Whip (which are designed to keep it fluffy) help the cookie maintain a bit of that lift, while the sugars in the cake mix caramelize to create chewy edges. The powdered sugar coating isn’t just for looks; it draws moisture to the surface, creating that signature “crackle” appearance and a slight crust that contrasts beautifully with the gooey interior. It is a perfect chemical balance that results in a foolproof, soft-baked treat.
Why You’ll Love This Recipe
- ✓Only 4 ingredients required
- ✓Ready in under 20 minutes
- ✓Soft, brownie-like texture
- ✓Perfect for baking with kids
- ✓Easily customizable with different cake flavors
- ✓Freezer-friendly
Equipment You’ll Need
- ✓Large mixing bowl
- ✓Hand mixer or sturdy spatula
- ✓Baking sheets
- ✓Parchment paper or silicone baking mats
- ✓Medium cookie scoop (approx. 1.5 tbsp)
- ✓Small bowl for powdered sugar
Ingredients
- ✓1 box (15.25 oz) Chocolate Cake Mix (Devil’s Food or Chocolate Fudge work best)
- ✓1 tub (8 oz) Cool Whip (whipped topping), thawed completely
- ✓1 Large Egg, room temperature
- ✓1/2 cup Powdered Sugar (Confectioners’ sugar), for rolling
Instructions
- Preheat and Prep: Preheat your oven to 350°F (175°C). Line two large baking sheets with parchment paper or silicone baking mats. This is crucial because the dough is sticky!
- Mix the Wet Ingredients: In a large bowl, combine the thawed Cool Whip and the large egg. Use a whisk or a spatula to mix them until they are fully combined and smooth. It will look like a pale, creamy liquid.
- Add the Cake Mix: Pour the dry chocolate cake mix into the bowl with the Cool Whip mixture. Using a sturdy spatula or a hand mixer on low speed, mix until all the dry streaks disappear. Warning: The dough will be very thick and incredibly sticky. This is normal!
- Form the Cookies: Place the powdered sugar in a separate small bowl. Using a cookie scoop, drop a dollop of the sticky dough directly into the bowl of powdered sugar. Gently roll it around until it is fully coated before picking it up with your hands to shape it into a ball. This prevents the dough from sticking to your fingers.
- Arrange on Sheet: Place the sugar-coated dough balls onto the prepared baking sheets, spacing them about 2 inches apart.
- Bake: Bake in the preheated oven for 10 to 12 minutes. The cookies will puff up and the tops will crackle. They might look slightly underdone in the cracks, but that is exactly what you want for a fudgy texture.
- Cool: Allow the cookies to cool on the baking sheet for at least 5 minutes. They are very soft when hot and need this time to set. Transfer them to a wire rack to cool completely.
Expert Cooking Tips
- ✓Thaw the Cool Whip: You cannot use frozen Cool Whip. Place it in the fridge the night before or on the counter for 30 minutes. Do not microwave it, or it will turn into liquid soup!
- ✓Manage the Stickiness: The dough is notoriously sticky. If you are struggling, chill the dough in the fridge for 20-30 minutes before scooping. It makes handling much easier.
- ✓Don’t Overbake: These cookies are meant to be soft. If you bake them until they are firm, they will turn hard once cooled. Pull them out when the edges are set but the centers still look soft.
- ✓Use a Scoop: A spring-loaded cookie scoop is a lifesaver here. It keeps your hands clean and ensures all cookies are the same size for even baking.
Substitutions and Variations
While the magic of this recipe lies in its simplicity, there are a few swaps you can make. If you cannot find Cool Whip, generic brand whipped topping works perfectly fine. However, do not try to substitute real homemade whipped cream (heavy cream whipped with sugar). Real cream lacks the stabilizers and gums found in Cool Whip, and the cookies will likely spread too much and become greasy.
For the cake mix, the sky is the limit! While this recipe focuses on chocolate, you can use Lemon cake mix (for lemon crinkles), Red Velvet (perfect for Christmas), or Strawberry. If you want to make these gluten-free, simply swap in a standard 15oz box of Gluten-Free Chocolate Cake Mix—the texture remains surprisingly similar!
Common Mistakes to Avoid
The biggest mistake people make is using frozen Cool Whip. If the topping is still frozen, it won’t mix with the cake mix properly, leading to lumps of dry powder and an uneven bake. Another common error is handling the dough too much with warm hands. The heat from your hands melts the Cool Whip, making a mess. Rely on the “drop and roll” method into the powdered sugar to keep your hands clean. Lastly, skipping the parchment paper is a no-no. These cookies are sticky and can adhere to an ungreased pan like glue.
Serving Suggestions
These cookies are rich and fudgy, making them the perfect companion for a tall glass of cold milk. For a fun summer twist, take two cooled cookies and sandwich a scoop of vanilla or peppermint ice cream in between to make the easiest homemade ice cream sandwiches ever. They also look stunning on a holiday platter due to the snowy powdered sugar contrast against the dark chocolate.
Storage and Reheating Tips
Store your cooled cookies in an airtight container at room temperature for up to 4-5 days. Because of the moisture content from the Cool Whip, they stay soft for days! If you want to stack them, place a sheet of wax paper between layers to prevent them from sticking together. You can also freeze the baked cookies for up to 3 months. Just thaw them on the counter for an hour before eating.
Nutrition Facts (Estimated)
| Serving Size | 1 Cookie |
| Calories | 115 kcal |
| Fat | 4g |
| Saturated Fat | 2g |
| Unsaturated Fat | 1g |
| Trans Fat | 0g |
| Cholesterol | 15mg |
| Sodium | 140mg |
| Carbohydrates | 19g |
| Fiber | 0.5g |
| Sugar | 14g |
| Protein | 1g |
Frequently Asked Questions
Can I use real whipped cream instead of Cool Whip?
No, unfortunately not. Real whipped cream is made of fat and water without the stabilizers found in Cool Whip. If you use real cream, the cookies will likely flatten out and become greasy during baking.
Why is my dough so sticky?
That is the nature of this beast! The high sugar and fat content in the Cool Whip makes a very tacky dough. Use a cookie scoop to drop the dough directly into the powdered sugar to avoid getting it all over your hands.
Can I freeze the dough before baking?
Yes! You can roll the balls in powdered sugar and freeze them on a baking sheet, then transfer to a bag. When ready to bake, add 2-3 extra minutes to the baking time. No need to thaw first.
Why did my cookies come out flat?
This usually happens if the Cool Whip was melted (microwaved) rather than thawed, or if the oven temperature was too low. Also, make sure your baking sheet wasn’t hot from a previous batch when you put the dough on it.
Can I add chocolate chips?
Absolutely! Folding in 1/2 cup of semi-sweet or white chocolate chips adds a great texture. Just be prepared for the dough to be even bumpier to roll.
Do I need to grease the pan?
I highly recommend using parchment paper or a silicone mat. If you must use a bare pan, grease it very well, but parchment is safer to prevent sticking and burning.
Can I use a different flavor of cake mix?
Yes! This recipe works with almost any standard 15.25oz box of cake mix. Lemon, Strawberry, Red Velvet, and Funfetti are all popular variations.
My cookies are hard, what happened?
They were likely overbaked. These cookies should look slightly underdone in the center when you pull them out. They firm up significantly as they cool.
Conclusion
There you have it—the secret weapon of busy moms and chocolate lovers everywhere! These Chocolate Cool Whip Cookies prove that you don’t need a pantry full of expensive ingredients or hours of free time to create something truly delicious. They are chewy, rich, and have that beautiful snowy crinkle look that screams “I know what I’m doing in the kitchen,” even if all you did was mix four things in a bowl.
So, the next time you need a last-minute dessert or just want a fun baking project to do with the little ones, grab a box of cake mix and that tub of Cool Whip. I promise, once you try them, they will earn a permanent spot in your recipe box. Happy baking!