12 Homemade Sweet Recipes That Are Absolutely Worth It
If you’ve been hunting for that perfect lineup of desserts to impress the family, look no further. We are rounding up 12 game-changing sweets, with a special spotlight on the most addictive chocolate chip cookies you will ever bake.
20 minutes
12 minutes
1 hour 32 minutes (includes chilling)
24 Cookies
Dessert
Baking
American
Vegetarian
Hey there, busy mamas and dessert lovers! Let’s be real for a second—there is absolutely nothing like the smell of sugar and butter wafting through the house to turn a chaotic Tuesday into a cozy haven. We all know that store-bought treats are convenient, but do they feed the soul? Not quite. That is why I have curated a list of 12 Homemade Sweet Recipes That Are Absolutely Worth It. These aren’t just recipes; they are memories waiting to happen. From fudgy brownies to zesty lemon bars, these are the heavy hitters that justify every single calorie.
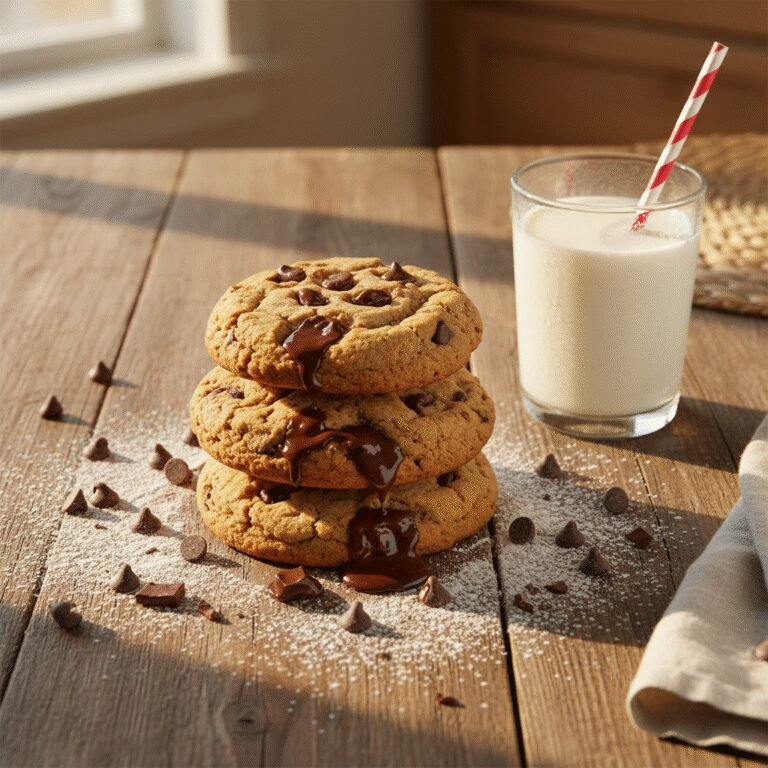
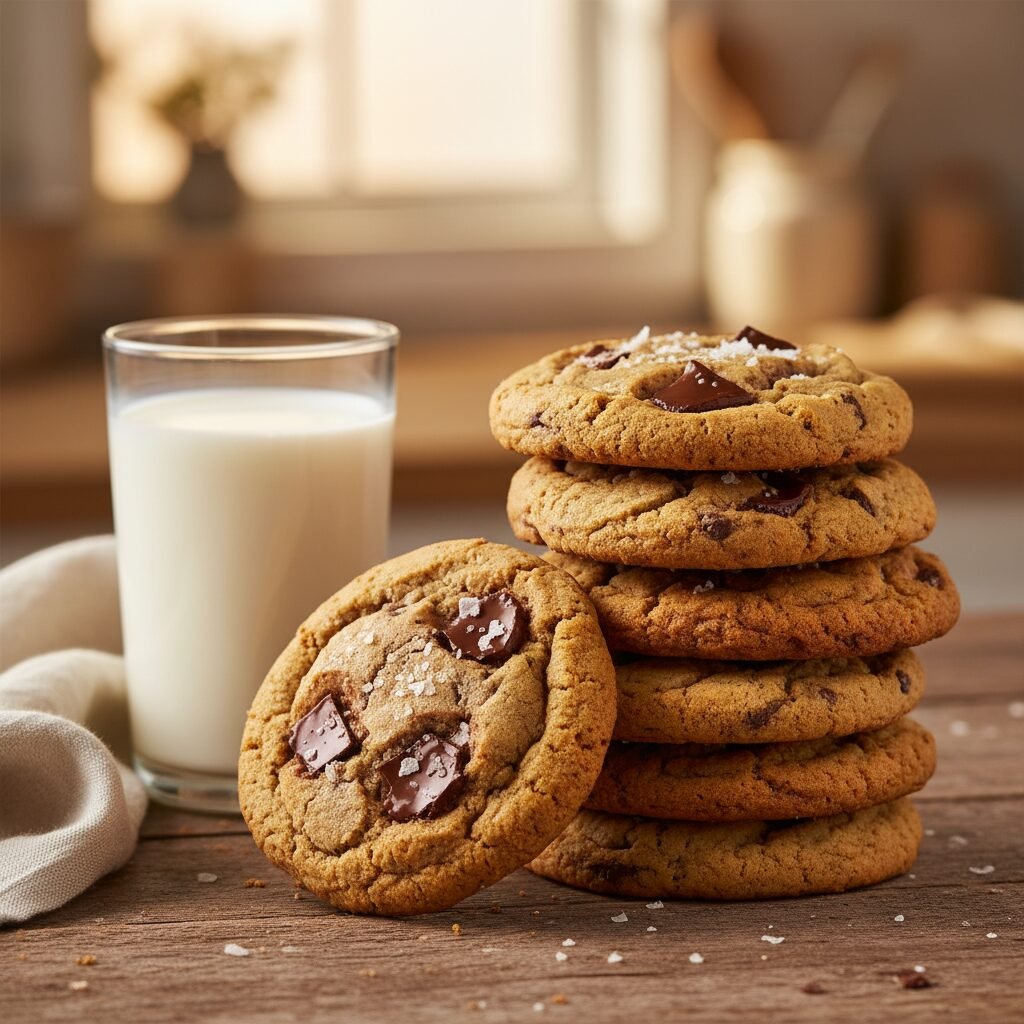
While I could rave about all twelve (and I will list them below!), today we are going to focus on the crown jewel of my kitchen: The Ultimate Browned Butter Salted Chocolate Chunk Cookies. These cookies are the number one reason my kids’ friends suddenly want to hang out at our house. They are chewy, crispy-edged, and have that nutty depth from the browned butter that makes you close your eyes and sigh with happiness. Before we get to the nitty-gritty of baking them, here is the quick rundown of the other 11 recipes that made the ‘Worth It’ list: Classic Cinnamon Rolls, Fudgy Avocado Brownies (don’t knock it!), Strawberry Shortcake, Vanilla Bean Cheesecake, Lemon Crinkle Cookies, Homemade Marshmallows, Apple Crisp, Chocolate Lava Cakes, Peanut Butter Blossoms, Tiramisu, and Key Lime Pie.
But today? Today is all about mastering that cookie jar staple. So, tie on your aprons, grab your favorite whisk, and let’s make some magic happen in the kitchen!
History & Origins
The concept of the ‘homemade sweet’ has evolved so much over the decades. Back in our grandmothers’ days, baking wasn’t a hobby; it was a necessity and a love language. The classic chocolate chip cookie, invented by Ruth Wakefield in the 1930s at the Toll House Inn, revolutionized American desserts. It was a happy accident that turned into a national treasure. But why stop at the original?
Over time, home bakers started experimenting. We realized that melting the butter first—specifically browning it—adds a toffee-like dimension that raw butter just can’t compete with. This technique dates back to French pastry traditions (beurre noisette), but bringing it into a humble American cookie elevates it from a ‘snack’ to a ‘gourmet experience.’ The list of 12 recipes I mentioned earlier represents a journey through dessert history, from the rustic fruit crisps of early settlers to the decadent cheesecakes of the 20th century. However, the modern browned butter cookie is the perfect example of how we take history and tweak it to make it even more delicious for our modern palates.
Why This Recipe Works
You might be wondering, ‘Why go through the extra step of browning butter?’ Here is the science, simplified! When you brown butter, you are cooking out the water and toasting the milk solids. This creates the Maillard reaction—the same chemical reaction that gives seared steak and toasted bread their delicious flavor. It introduces notes of hazelnut and caramel into the dough foundation.
Furthermore, this recipe uses a mix of brown sugar and white sugar. The molasses in the brown sugar is hygroscopic (it attracts water), which ensures the cookies stay soft and chewy in the center. The white sugar helps the edges crisp up perfectly. We also insist on using chocolate chunks or hand-chopped bars rather than chips. Chips contain stabilizers to help them keep their shape, but chunks melt into glorious, gooey pools that create layers of chocolate in every bite. Finally, chilling the dough is non-negotiable. It allows the flour to hydrate fully and the fats to solidify, meaning your cookies won’t spread into sad, flat puddles in the oven.
Why You’ll Love This Recipe
- ✓Nutty, rich flavor from browned butter
- ✓Perfect balance of chewy centers and crispy edges
- ✓Uses chocolate chunks for melty pools of goodness
- ✓No electric mixer required—just a whisk and spatula
- ✓Dough freezes beautifully for emergency cravings
- ✓Finished with sea salt for that sweet-salty pop
Equipment You’ll Need
- ✓Small saucepan (light-colored bottom preferred)
- ✓Heat-proof mixing bowl
- ✓Whisk
- ✓Rubber spatula
- ✓Baking sheets
- ✓Parchment paper
- ✓Cookie scoop (2 tablespoon size)
- ✓Wire cooling rack
Ingredients
- ✓1 cup (2 sticks) unsalted butter
- ✓1/2 cup granulated white sugar
- ✓1 cup dark brown sugar, packed
- ✓1 large egg + 1 egg yolk, room temperature
- ✓1 tablespoon vanilla extract
- ✓2 1/4 cups all-purpose flour
- ✓1 teaspoon baking soda
- ✓1/2 teaspoon flaky sea salt (for topping)
- ✓1 teaspoon kosher salt (for dough)
- ✓8 oz semi-sweet chocolate bar, chopped into rough chunks
Instructions
- Brown the Butter: Place the butter in a saucepan over medium heat. Stir constantly as it melts and begins to foam. Continue cooking until the foam subsides and you see brown specks at the bottom of the pan and it smells nutty. Immediately remove from heat and pour into a large heat-proof bowl to stop the cooking. Let it cool for 10 minutes.
- Mix Sugars and Butter: Add the granulated sugar and brown sugar to the slightly cooled butter. Whisk vigorously for about 2 minutes until the mixture looks smooth and glossy. This step is crucial for that crinkly top!
- Add Wet Ingredients: Whisk in the egg, egg yolk, and vanilla extract until fully combined.
- Combine Dry Ingredients: In a separate bowl, whisk together the flour, baking soda, and kosher salt. Pour the dry ingredients into the wet mixture.
- Fold the Dough: Switch to a rubber spatula and fold the ingredients together just until no flour streaks remain. Do not overmix! Fold in the chocolate chunks.
- Chill the Dough: This is the secret step! Cover the bowl with plastic wrap and chill in the refrigerator for at least 30 minutes (up to overnight). This prevents spreading and deepens the flavor.
- Preheat and Scoop: Preheat your oven to 350°F (175°C). Line baking sheets with parchment paper. Scoop the dough into balls (about 2 tablespoons each) and place them 2 inches apart on the sheets.
- Bake: Bake for 10-12 minutes. The edges should be golden brown, but the centers will still look slightly underbaked and soft. That is exactly what you want!
- Finish and Cool: Remove from the oven and immediately sprinkle with flaky sea salt. Let the cookies cool on the baking sheet for 5 minutes before transferring them to a wire rack to cool completely.
Expert Cooking Tips
- ✓Use a light-colored pan to brown the butter so you can actually see the milk solids changing color—it prevents burning!
- ✓Room temperature eggs incorporate better into the dough, creating a more uniform texture.
- ✓If you want perfectly round cookies, use a large round cookie cutter to ‘scoot’ the cookies into shape immediately after taking them out of the oven.
- ✓Don’t skimp on the salt! The contrast between the sweet dough and the flaky salt is what makes these ‘worth it’.
- ✓Chop your own chocolate bar instead of using chips. The dust from chopping gets into the dough and makes it even more chocolatey.
Substitutions and Variations
If you are out of dark brown sugar, light brown sugar works fine, though the flavor will be slightly milder. For a gluten-free version, swap the all-purpose flour for a high-quality 1:1 gluten-free baking flour blend (make sure it contains xanthan gum). If you don’t have a semi-sweet chocolate bar, high-quality chocolate chips are acceptable, or try milk chocolate if you have a serious sweet tooth. Vegans can use plant-based butter sticks and a flax egg, though browning plant butter is a bit trickier.
Common Mistakes to Avoid
The biggest mistake is overbaking. These cookies continue to cook on the hot baking sheet after you pull them out. If they look done in the oven, they will be overdone on the plate. Another common error is burning the butter; watch it like a hawk once it starts foaming! Lastly, skipping the chill time usually results in flat, greasy cookies. Patience is a virtue here, mama!
Serving Suggestions
These cookies are absolute perfection when served warm with a tall glass of cold milk. For a dinner party dessert, use two cookies to sandwich a scoop of vanilla bean ice cream. They also make incredible gifts—stack them in a mason jar with a cute ribbon, and you are the neighbor of the year.
Storage and Reheating Tips
Store baked cookies in an airtight container at room temperature for up to 4 days. To keep them soft, throw a slice of white bread into the container (seriously, it works!). You can also freeze the dough balls in a ziplock bag for up to 3 months. Bake them straight from frozen, just adding an extra minute or two to the bake time.
Nutrition Facts (Estimated)
| Serving Size | 1 Cookie |
| Calories | 210 |
| Fat | 11g |
| Saturated Fat | 7g |
| Unsaturated Fat | 3g |
| Trans Fat | 0g |
| Cholesterol | 30mg |
| Sodium | 140mg |
| Carbohydrates | 26g |
| Fiber | 1g |
| Sugar | 18g |
| Protein | 2g |
Frequently Asked Questions
Can I skip browning the butter?
Technically yes, you can just use melted butter, but you will miss out on that signature toffee flavor that makes these specific cookies ‘worth it’. I highly recommend trying it!
Why did my cookies turn out flat?
Usually, this happens if the butter was too hot when you added the sugar, or if you skipped the chilling step. Make sure the dough is cold before it hits the hot oven.
Can I make the dough ahead of time?
Absolutely! The dough actually tastes better after resting in the fridge for 24 hours. You can keep it in the fridge for up to 3 days before baking.
What kind of chocolate is best?
I recommend a bar of semi-sweet baking chocolate (around 60% cocoa). Brands like Ghirardelli or Lindt work beautifully.
Can I double this recipe?
Yes, this recipe doubles easily. Just make sure you have a large enough pot to brown the butter safely without it boiling over.
Do I need a stand mixer?
Nope! This recipe is designed to be made by hand with a whisk and spatula. It saves you from washing that giant mixer bowl.
Why do you use both egg and egg yolk?
The extra yolk adds fat and richness, contributing to that fudge-like, chewy texture we all love.
How do I know when the butter is browned enough?
It will stop making a loud sizzling noise (because the water has evaporated), smell intensely nutty, and you will see amber-brown specks on the bottom of the pan.
Conclusion
And there you have it—the ultimate secret weapon in your baking arsenal! While all 12 of the homemade sweet recipes I mentioned are incredible, these Browned Butter Salted Chocolate Chunk Cookies hold a special place in my heart. They are the kind of treat that makes a house feel like a home. Whether you are baking for a bake sale, a holiday, or just a Tuesday night craving, these cookies deliver every single time. So go ahead, treat yourself and your family. You deserve it!